00:06 Today we'll start a new series in which we try to reimplement
anchors — not because we need to, but because reimplementing anchors helps us
understand how they really work, how to use them, and what their limitations
are. We also did this with the matched geometry effect a while
ago.
00:43 The advantage of anchors is that we can reimplement them in SwiftUI
itself. This is different from when we tried to reimplement SwiftUI's layout
algorithm, where we
had to step outside of SwiftUI and build it from scratch.
01:00 Anchors are an API we don't use very often — and that's why we
thought we'd examine them by writing them ourselves and maybe discover new use
cases for them as well.
Anchors
01:18 An anchor helps us do two things. First, it communicates a
geometric value — like a rect, a point, or a size — from one point in the view
tree to another. The value is propagated from the source view up the view tree
via a preference, and it can be used in any other part of the view tree. The
second thing an anchor can do is convert the geometric value into the local
coordinate space of the view where we want to use it.
01:41 A possible use case for this could be the following: Let's say
we've measured a point deep inside a nested view and we want to highlight this
location. An anchor lets us communicate the point all the way up the view tree.
In another part of the tree, we can resolve the anchor to the local coordinate
space and put an indicator over the measured point without having to go back
down to the place where the point was defined. Under the hood, an anchor seems
to store its geometric value in the global coordinate space, i.e. relative to
the app window or to the simulator screen.
02:42 Our first step in reimplementing anchors is to write down an
example using the existing API. After that, we can look into the value that's
being propagated, try to replicate the API, and make our own anchors work.
Example
02:58 Let's say we want to draw an ellipse around the "Hello, world"
text of SwiftUI's boilerplate view. We can easily do so by creating an overlay
with an ellipse, stroking the ellipse, and giving it some negative padding to
make it draw around the source's frame:
struct ContentView: View {
    var body: some View {
        VStack {
            Image(systemName: "globe")
                .imageScale(.large)
                .foregroundColor(.accentColor)
            Text("Hello, world!")
                .overlay {
                    Ellipse()
                        .stroke(Color.red, lineWidth: 1)
                        .padding(-10)
                }
        }
        .padding()
    }
}
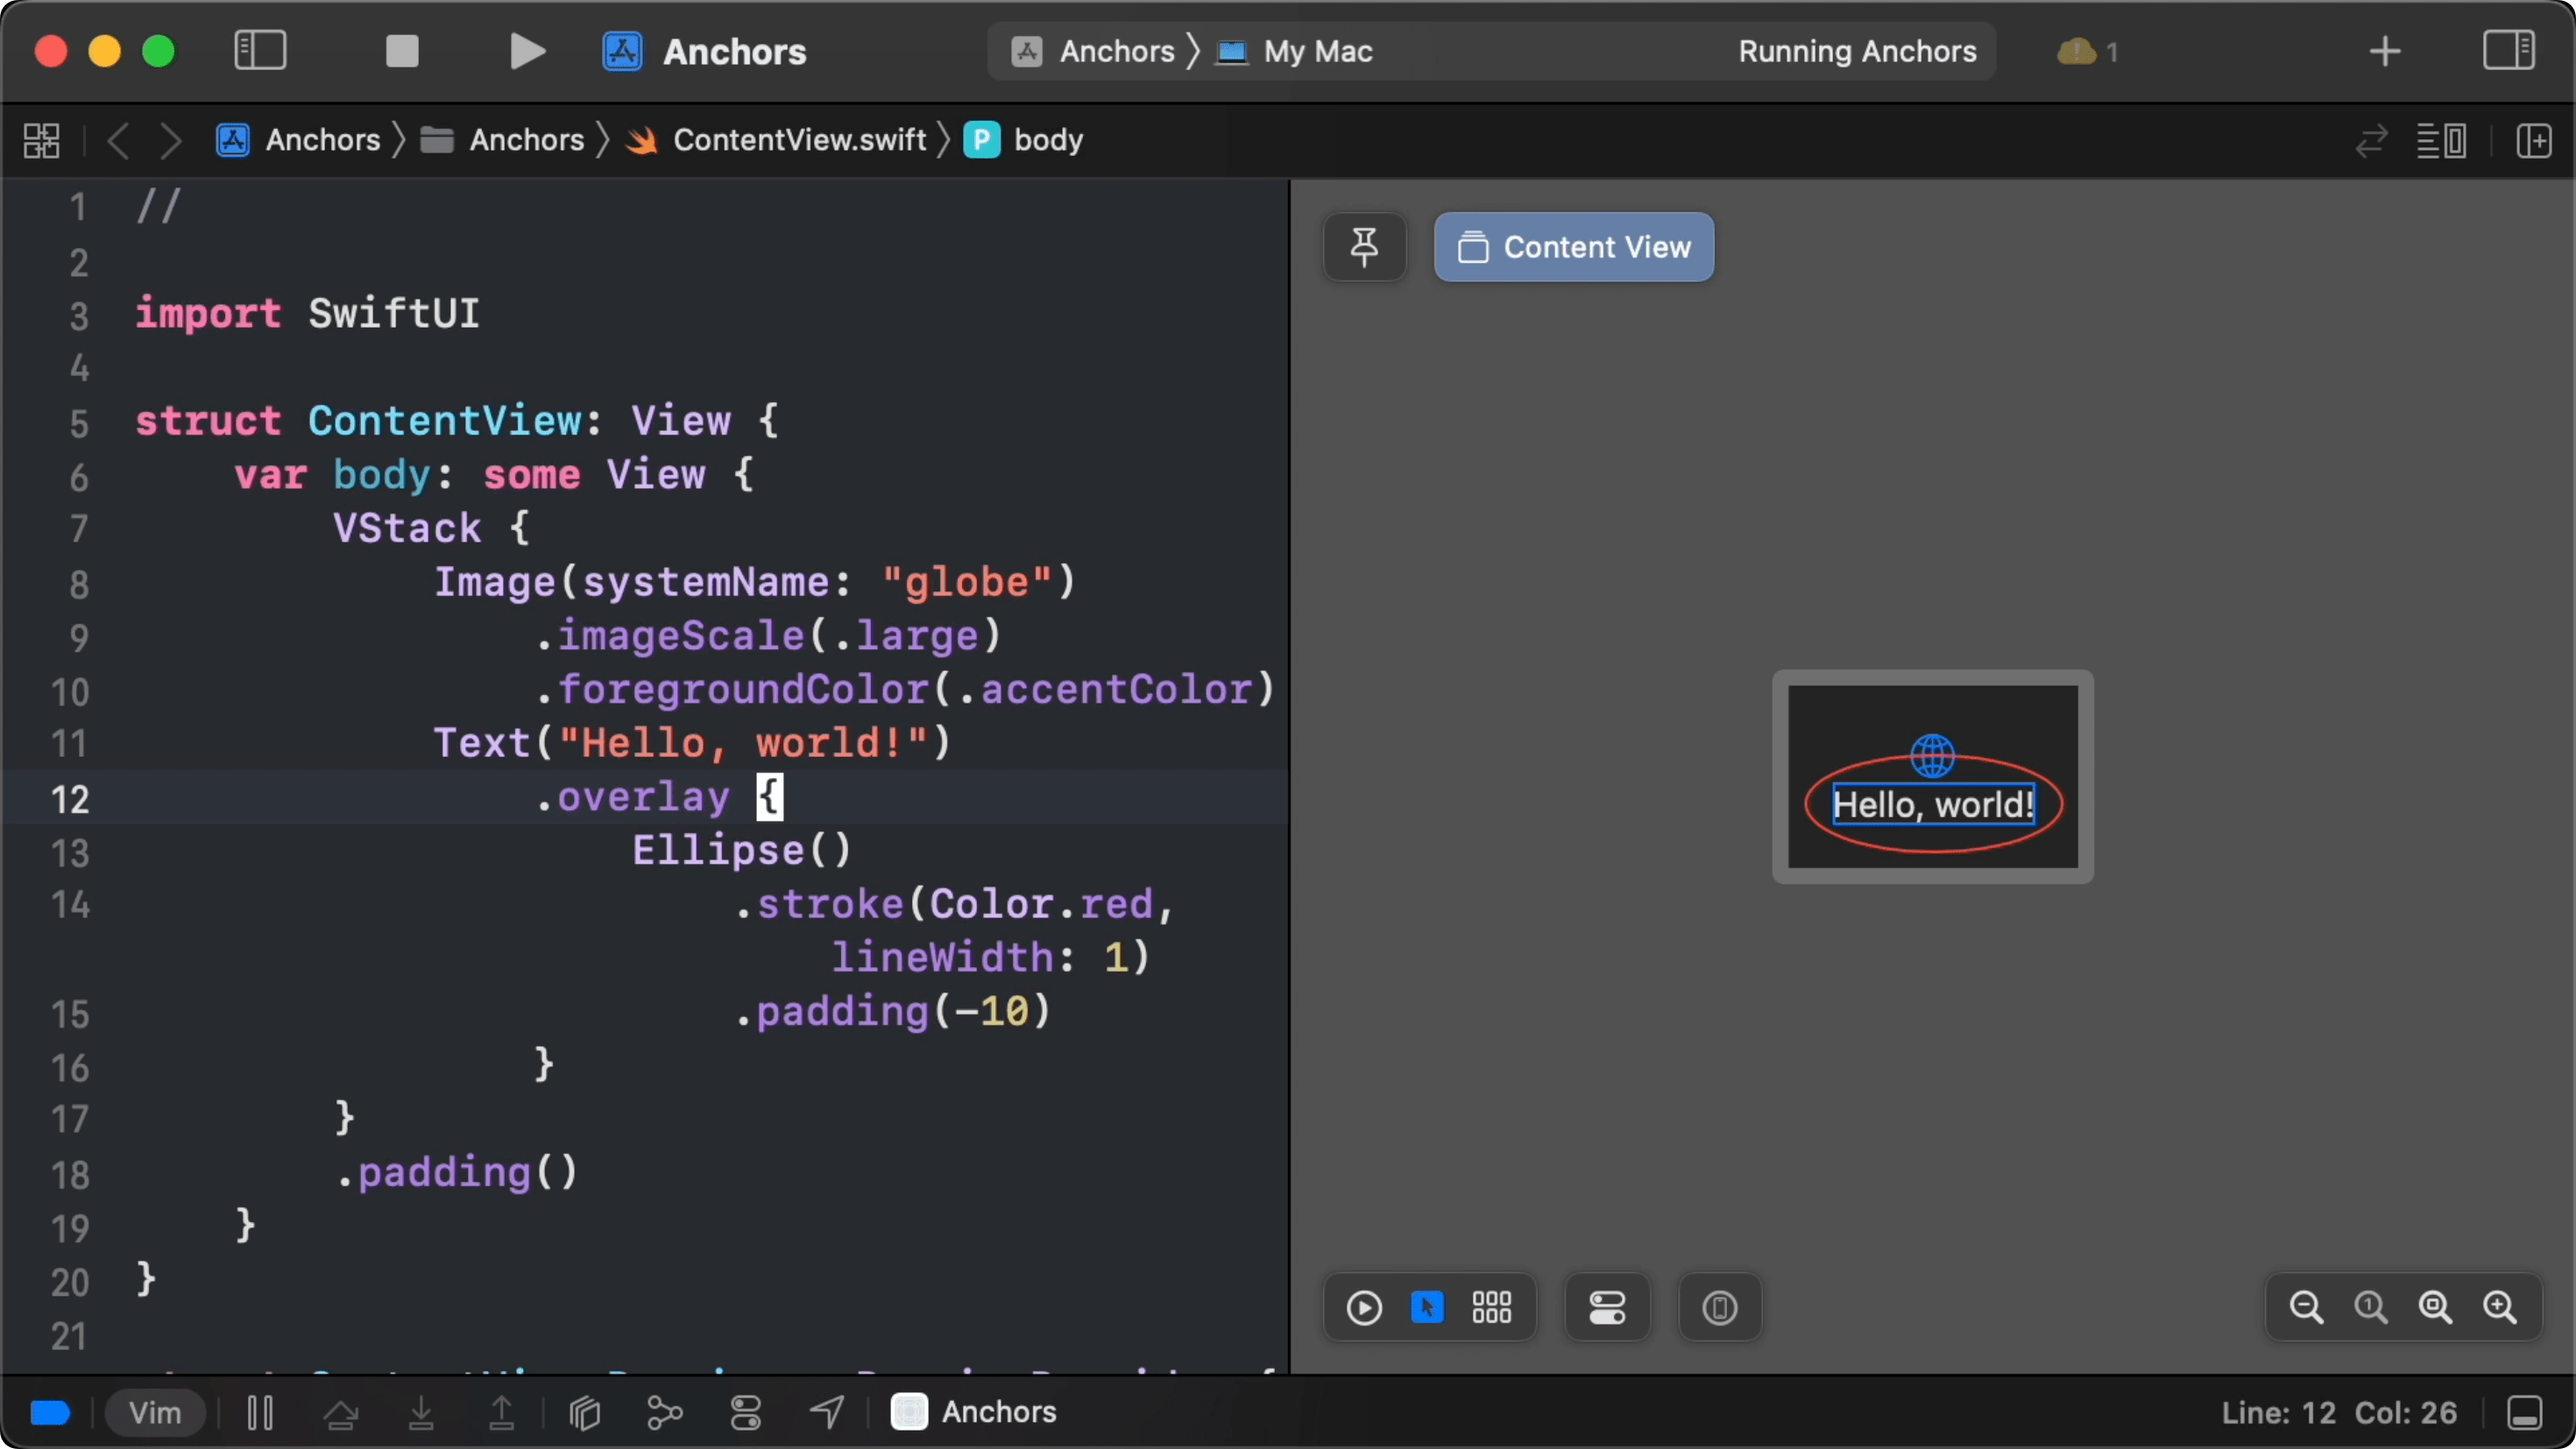
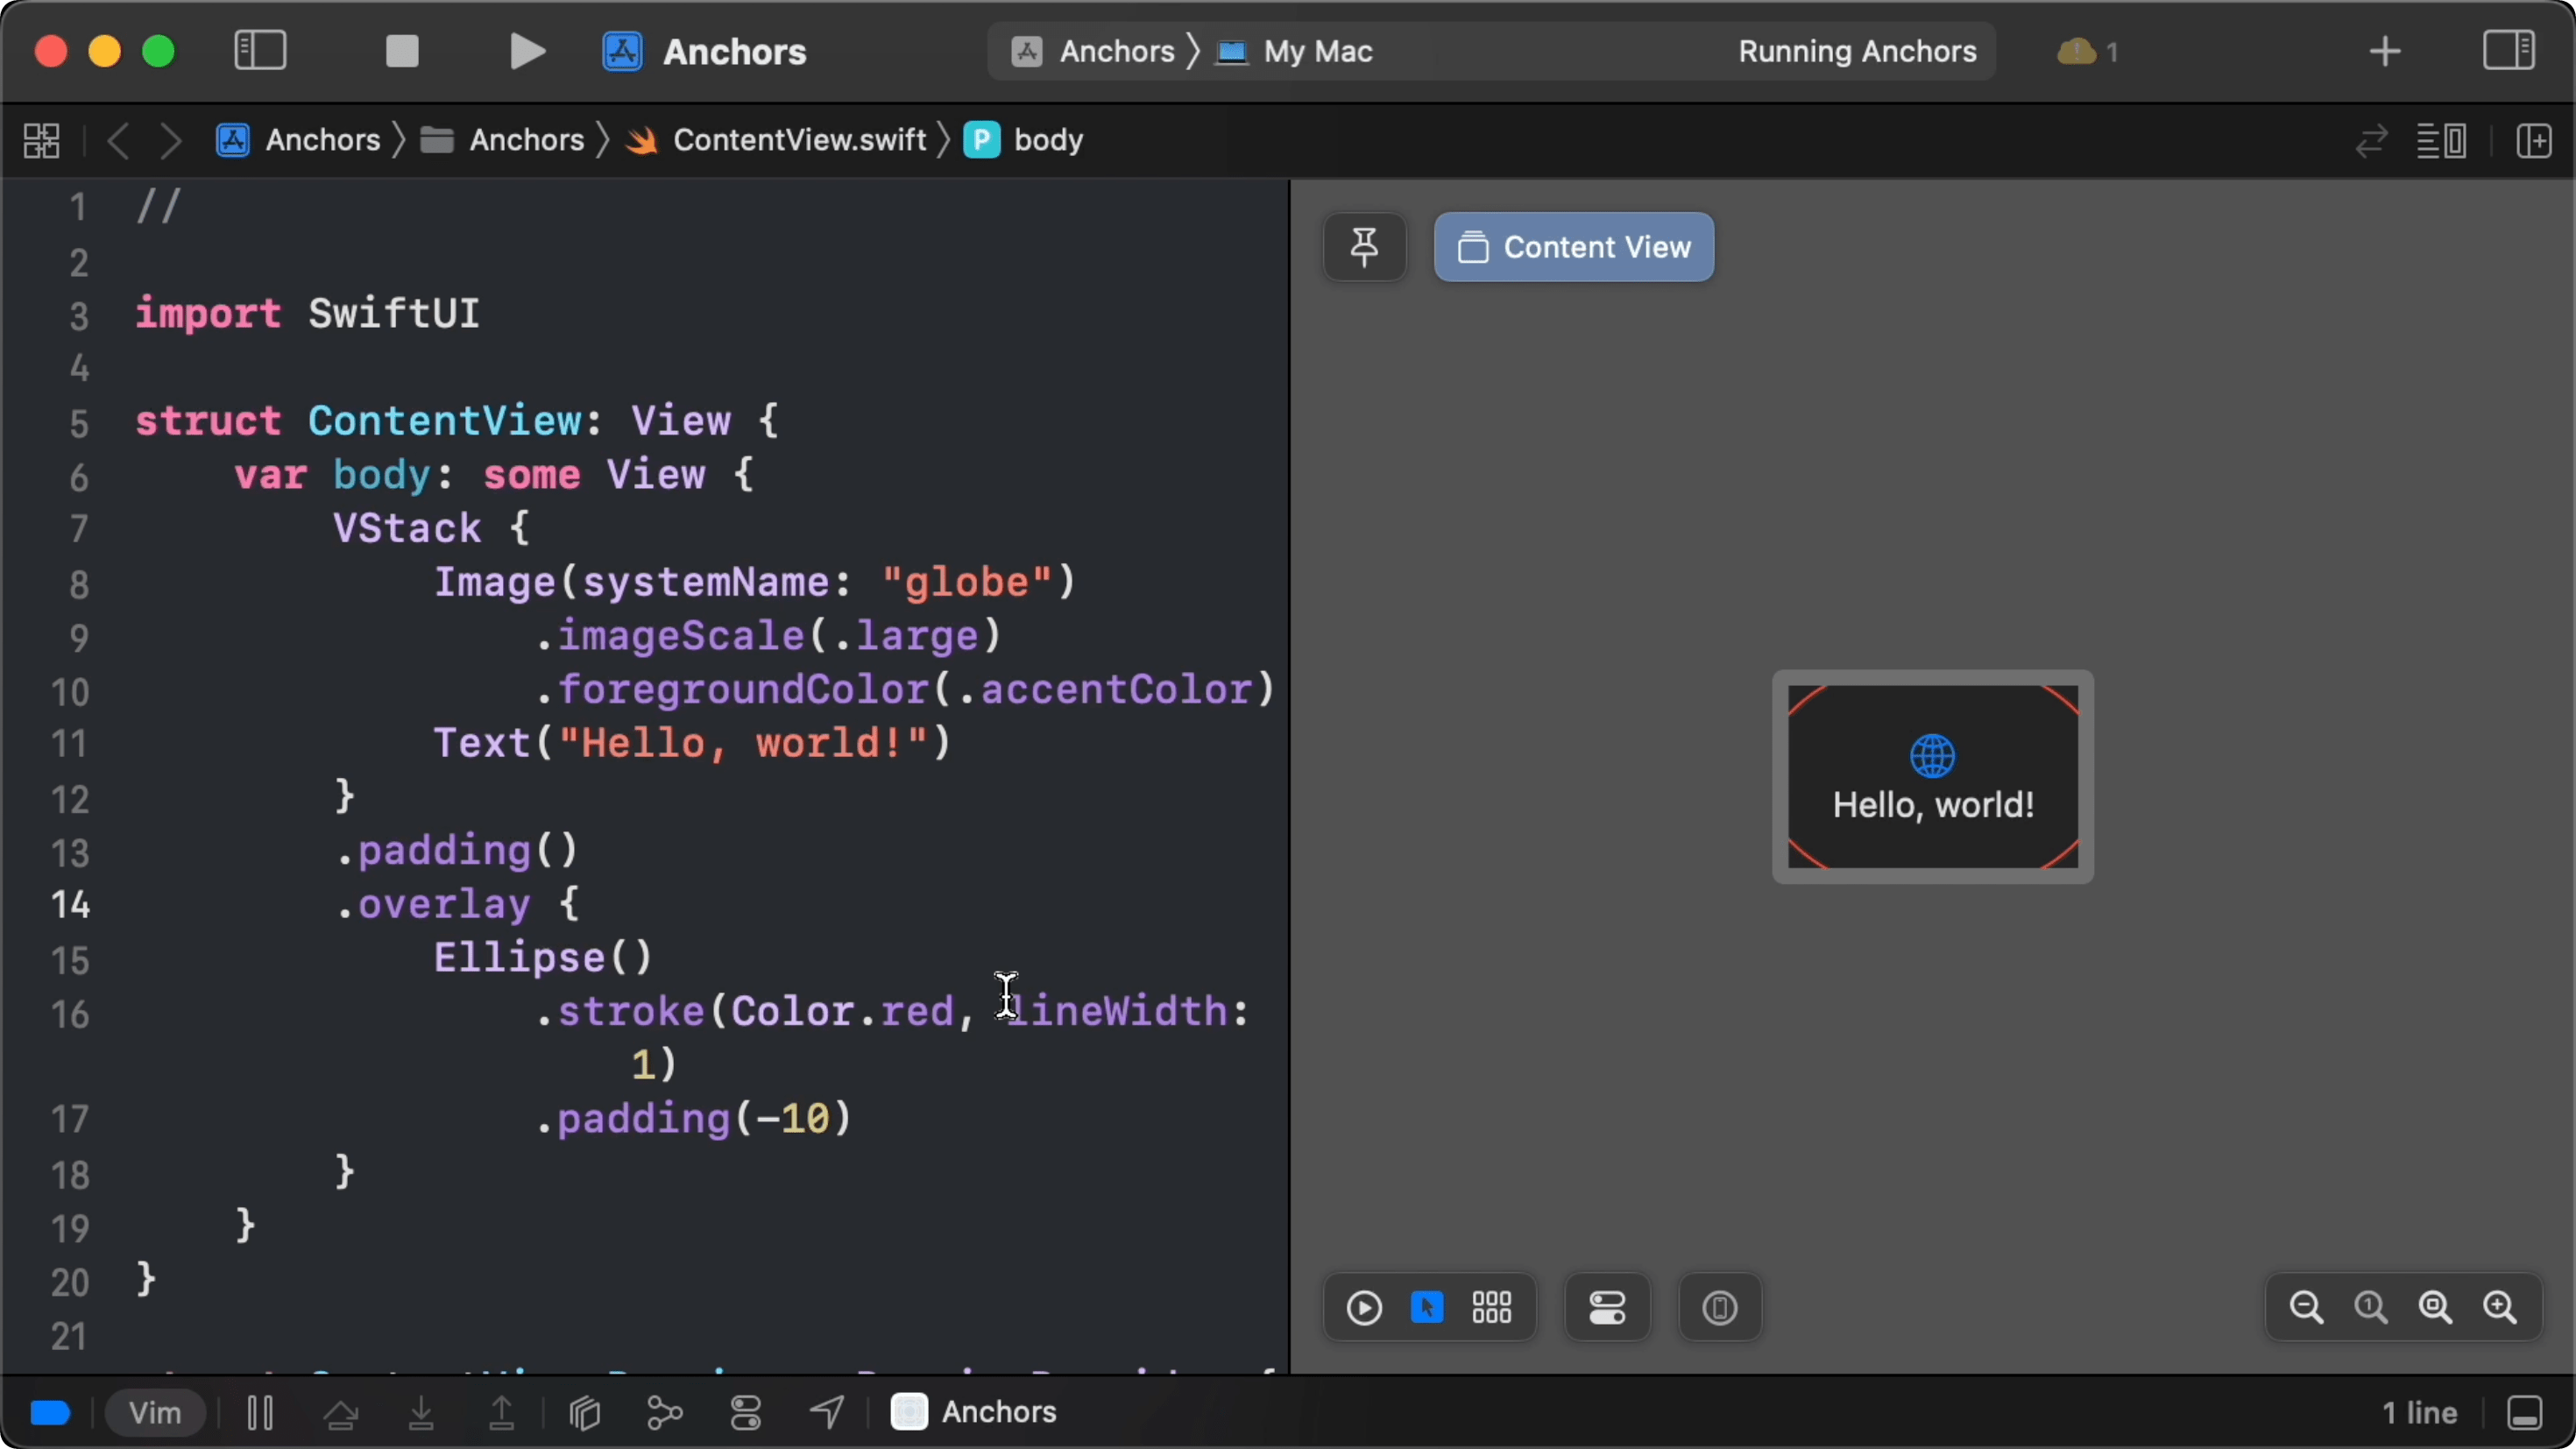
03:38 Perhaps we have a good reason to draw this highlight at a
different point in the view hierarchy. For instance, we could want the highlight
to always be on top of other views. Or we might want to create a highlight
indicator once and animate it from view to view. But if we simply move the
overlay onto the VStack, it's obviously going to be drawn around the entire
view:
struct ContentView: View {
    var body: some View {
        VStack {
            Image(systemName: "globe")
                .imageScale(.large)
                .foregroundColor(.accentColor)
            Text("Hello, world!")
        }
        .padding()
        .overlay {
            Ellipse()
                .stroke(Color.red, lineWidth: 1)
                .padding(-10)
        }
    }
}
04:13 An anchor can help us out here. We first create a preference key
with an Anchor<CGRect>? as its value. In the key's reduce method, we take
the first non-nil value from the view hierarchy:
struct HighlightKey: PreferenceKey {
    static var defaultValue: Anchor<CGRect>?

    static func reduce(value: inout Anchor<CGRect>?, nextValue: () -> Anchor<CGRect>?) {
        value = value ?? nextValue()
    }
}
04:38 We create and propagate the anchor by calling the
anchorPreference modifier. This function takes our key, an anchor value, and a
transform function. For the value, we specify a description of what we want to
measure. Using autocomplete, we can easily choose from a list of predefined
values, like .bounds, which is a CGRect, or .leading, which is a
CGPoint. We pick the view's bounds:
struct ContentView: View {
    var body: some View {
        VStack {
            Image(systemName: "globe")
                .imageScale(.large)
                .foregroundColor(.accentColor)
            Text("Hello, world!")
                .anchorPreference(key: HighlightKey.self, value: .bounds, transform: { $0 })
        }
        .padding()
    }
}
05:15 The transform function turns the anchor value into a value for the
preference key. In this case, we receive a non-optional Anchor<CGRect>, but we
need an optional anchor of the same type, so we can return $0 to let Swift
make the conversion.
05:48 Now we can access the anchor by calling onPreferenceChange with
the same preference key and an action closure. In the closure, we can print the
anchor out to see what we've got, but this doesn't tell us much more than that
we're dealing with an optional anchor of a CGRect. However, we can get some
more information if we dump the value:
struct ContentView: View {
    var body: some View {
        VStack {
            Image(systemName: "globe")
                .imageScale(.large)
                .foregroundColor(.accentColor)
            Text("Hello, world!")
                .anchorPreference(key: HighlightKey.self, value: .bounds, transform: { $0 })
        }
        .padding()
        .onPreferenceChange(HighlightKey.self, perform: {
            dump($0)
        })
    }
}
06:17 This prints the following to the console, and it shows us that the
anchor contains a rect whose origin is measured from the top-leading edge of our
app, meaning this is a CGRect in the global coordinate space:
▿ Optional(SwiftUI.Anchor<__C.CGRect>(box: SwiftUI.(unknown context at $1cce82530).AnchorValueBox<SwiftUI.UnitRect>))
  ▿ some: SwiftUI.Anchor<__C.CGRect>
    ▿ box: SwiftUI.(unknown context at $1cce82530).AnchorValueBox<SwiftUI.UnitRect> #0
      - super: SwiftUI.AnchorValueBoxBase<__C.CGRect>
      ▿ value: (412.5, 241.0, 75.5, 16.0)
        ▿ origin: (412.5, 241.0)
          - x: 412.5
          - y: 241.0
        ▿ size: (75.5, 16.0)
          - width: 75.5
          - height: 16.0
06:41 Let's try drawing our ellipse around this rect. Rather than
calling onPreferenceChange, storing the value in a state property, and then
using it in an overlay, we can switch to overlayPreferenceValue to immediately
create an overlay with the propagated anchor:
struct ContentView: View {
    var body: some View {
        VStack {
            Image(systemName: "globe")
                .imageScale(.large)
                .foregroundColor(.accentColor)
            Text("Hello, world!")
                .anchorPreference(key: HighlightKey.self, value: .bounds, transform: { $0 })
        }
        .padding()
        .overlayPreferenceValue(HighlightKey.self) { value in
            Ellipse()
                .stroke(Color.red, lineWidth: 2)
                .padding(-10)
            }
        }
    }
}
07:50 This draws an ellipse around the entire VStack, because we
aren't yet using the anchor value passed into the closure. To use the anchor, we
first need to resolve it with a geometry reader.
08:23 But we also need to make sure that it's non-nil, so we try
unwrapping the value first:
struct ContentView: View {
    var body: some View {
        VStack {
            Image(systemName: "globe")
                .imageScale(.large)
                .foregroundColor(.accentColor)
            Text("Hello, world!")
                .anchorPreference(key: HighlightKey.self, value: .bounds, transform: { $0 })
        }
        .padding()
        .overlayPreferenceValue(HighlightKey.self) { value in
            if let value {

            }
        }
    }
}
08:58 Then, we add a geometry reader, and we use its proxy to resolve
the anchor. This gives us a CGRect whose size we can use for the frame around
our ellipse:
struct ContentView: View {
    var body: some View {
        VStack {
            Image(systemName: "globe")
                .imageScale(.large)
                .foregroundColor(.accentColor)
            Text("Hello, world!")
                .anchorPreference(key: HighlightKey.self, value: .bounds, transform: { $0 })
        }
        .padding()
        .overlayPreferenceValue(HighlightKey.self) { value in
            if let value {
                GeometryReader { proxy in
                    let frame = proxy[value]
                    Ellipse()
                        .stroke(Color.red, lineWidth: 2)
                        .padding(-10)
                        .frame(width: frame.width, height: frame.height)
                }
            }
        }
    }
}
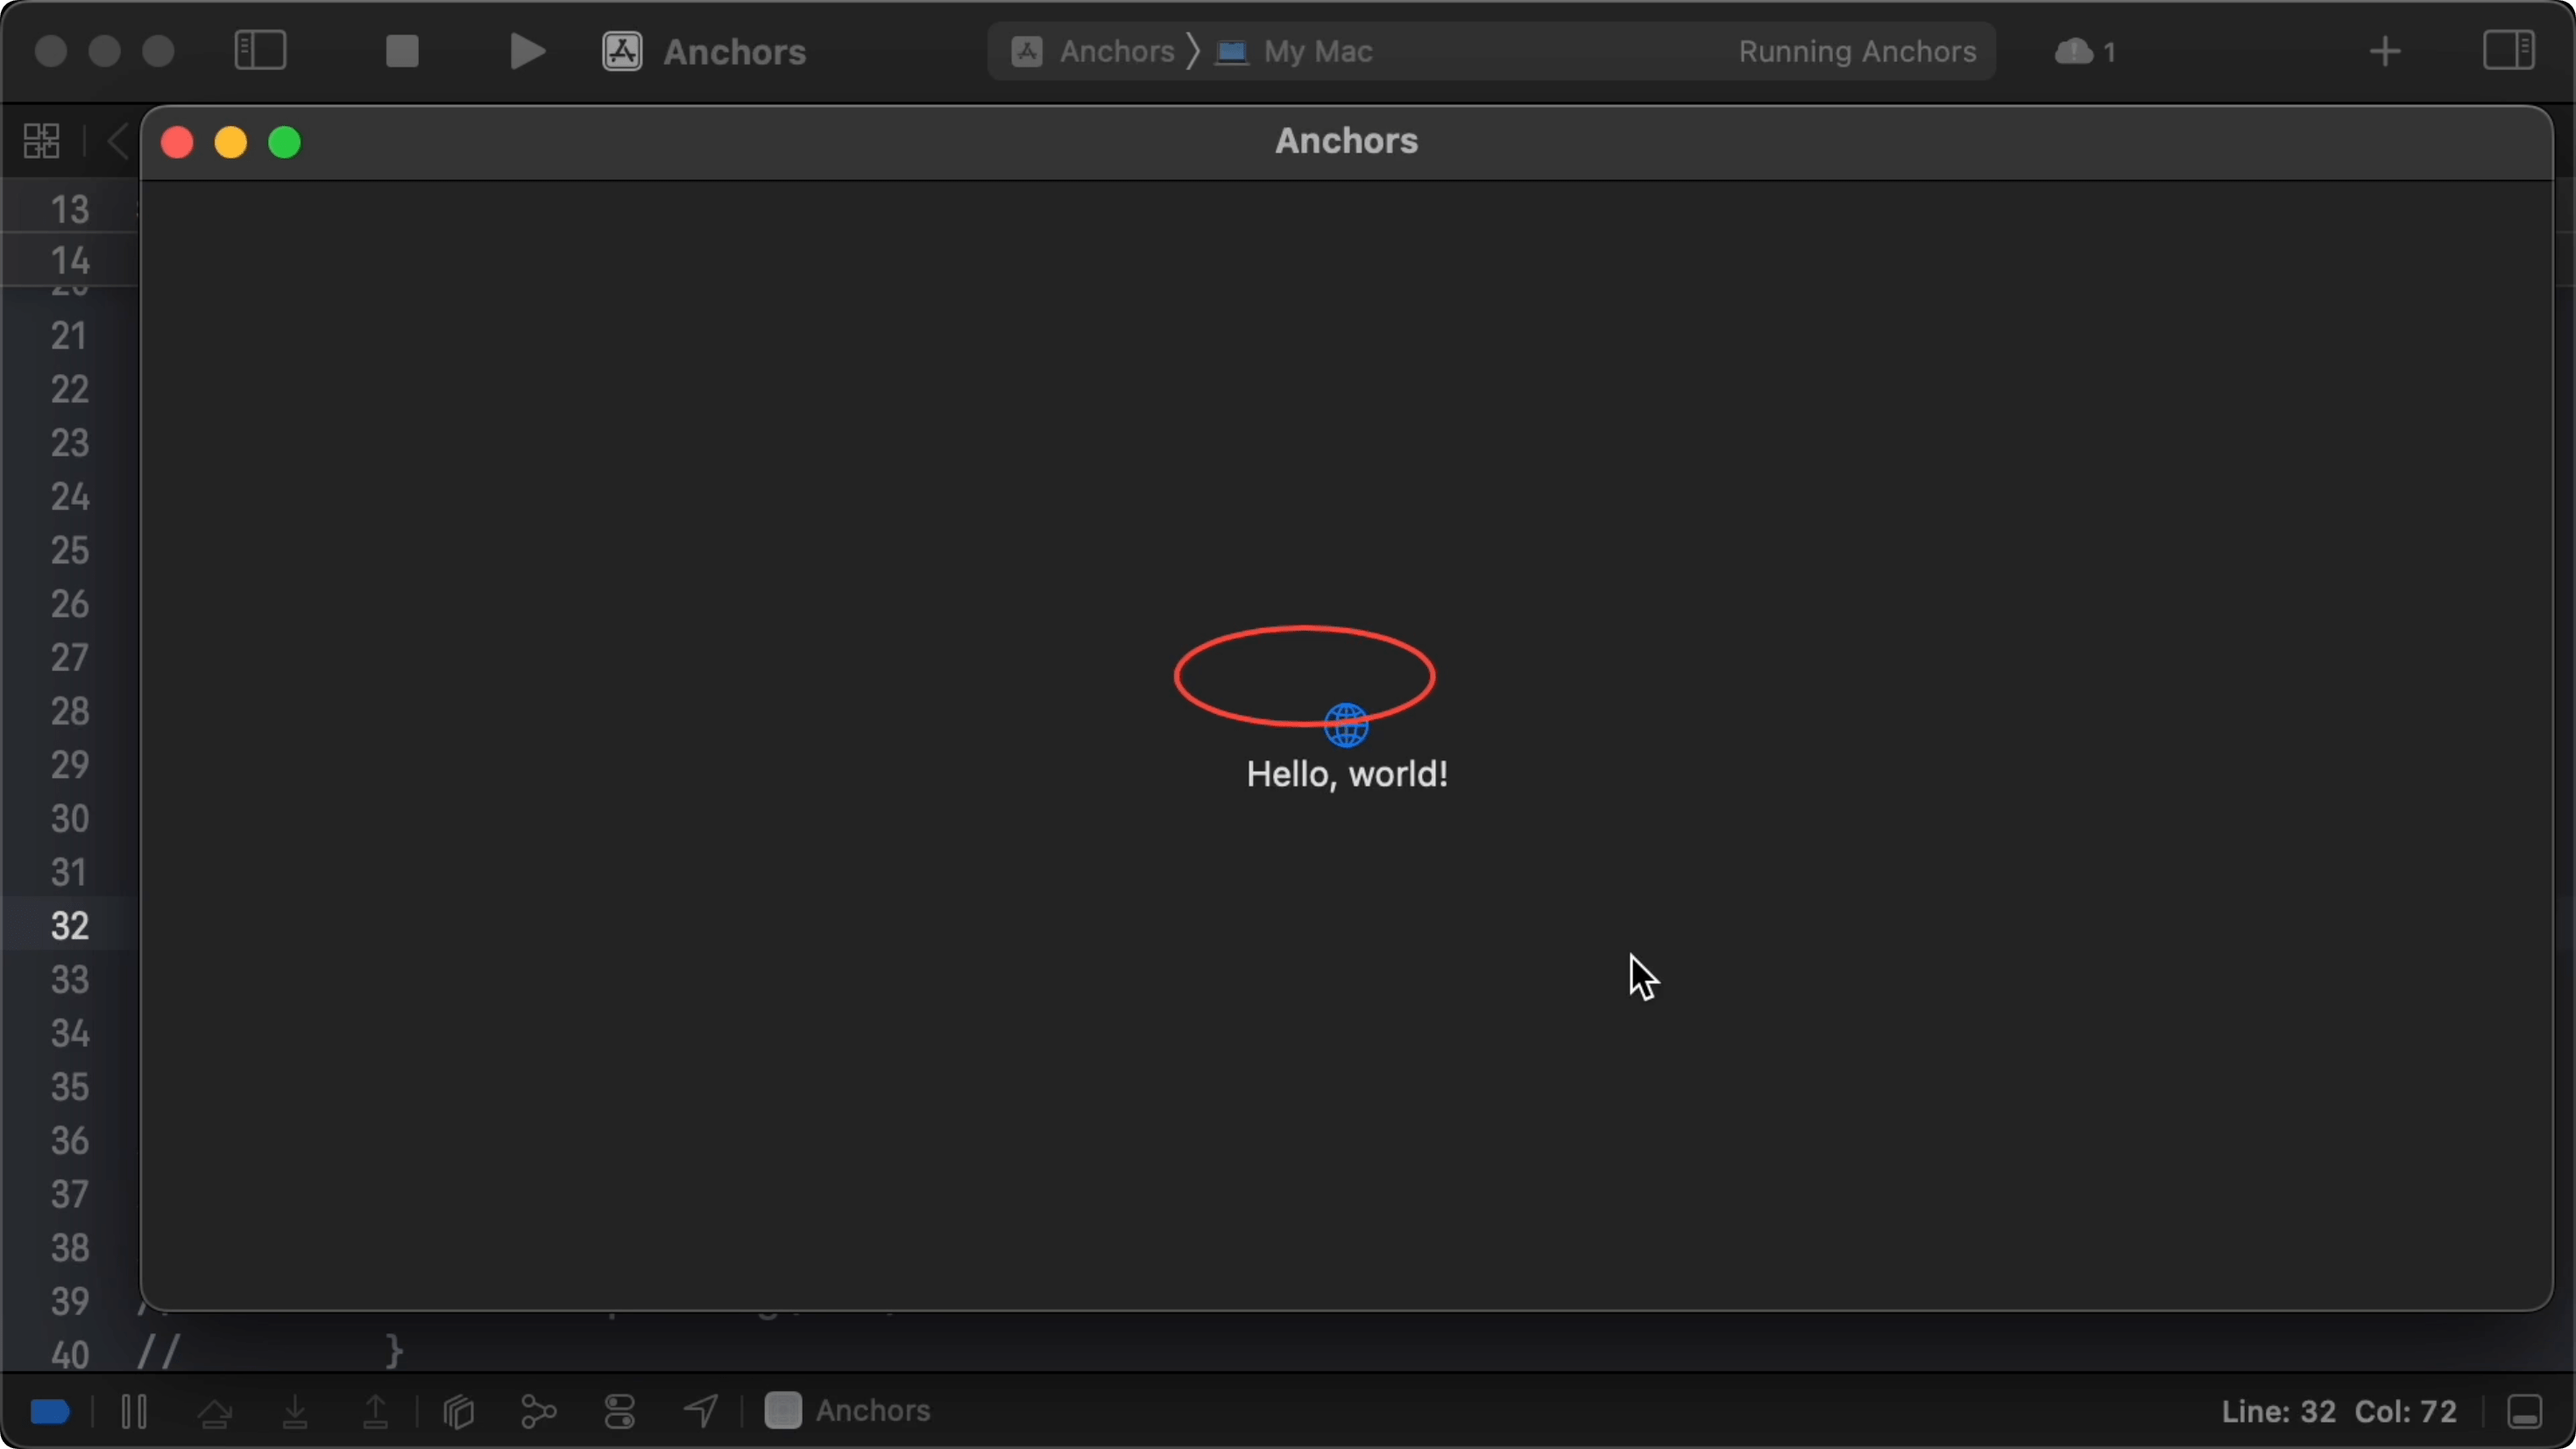
10:05 The ellipse looks correct in size, but it's not in the right
location:
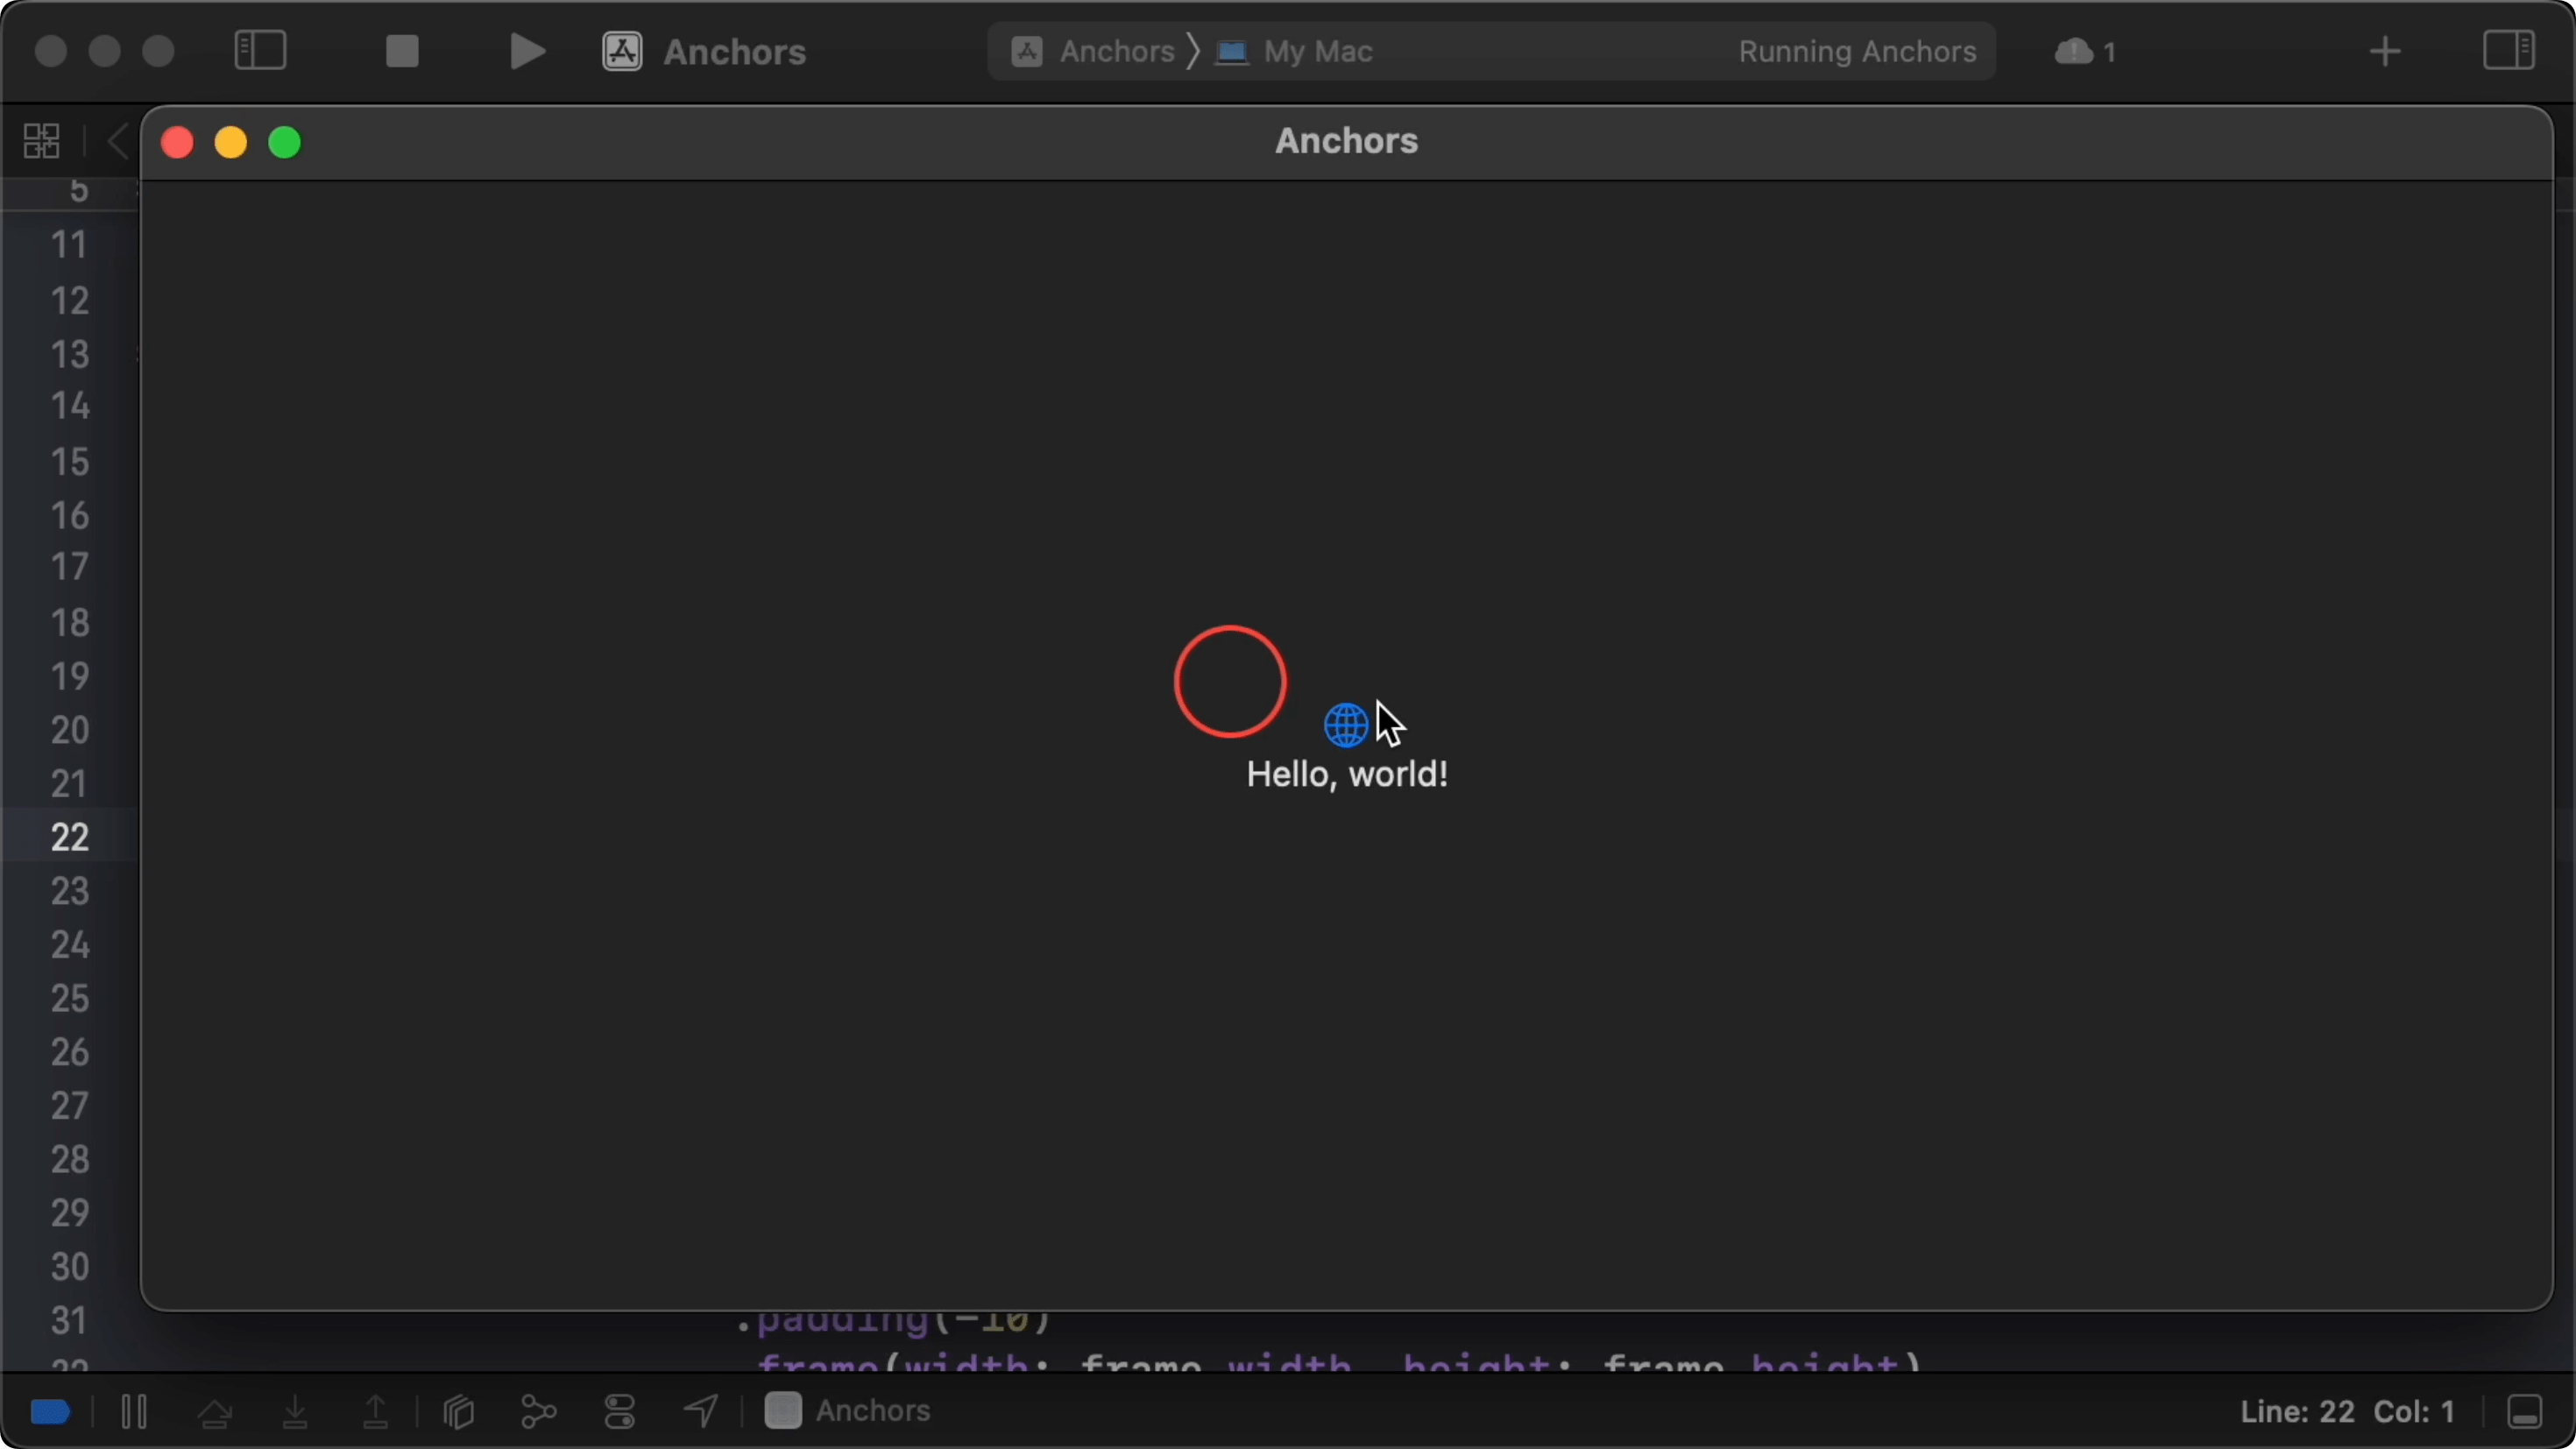
10:12 When we move the anchor over to the globe icon, the ellipse takes
on the size of the icon (plus the negative padding). This confirms that the size
is determined by the bounds of the anchor's source:
struct ContentView: View {
    var body: some View {
        VStack {
            Image(systemName: "globe")
                .imageScale(.large)
                .foregroundColor(.accentColor)
                .anchorPreference(key: HighlightKey.self, value: .bounds, transform: { $0 })
            Text("Hello, world!")
        }
        .padding()
        .overlayPreferenceValue(HighlightKey.self) { value in
            if let value {
                GeometryReader { proxy in
                    let frame = proxy[value]
                    Ellipse()
                        .stroke(Color.red, lineWidth: 2)
                        .padding(-10)
                        .frame(width: frame.width, height: frame.height)
                }
            }
        }
    }
}
10:38 After we put the anchor back on the text view and we offset the
ellipse with the X and Y position of the resolved rect's origin, the ellipse is
drawn where we want it:
struct ContentView: View {
    var body: some View {
        VStack {
            Image(systemName: "globe")
                .imageScale(.large)
                .foregroundColor(.accentColor)
            Text("Hello, world!")
                .anchorPreference(key: HighlightKey.self, value: .bounds, transform: { $0 })
        }
        .padding()
        .overlayPreferenceValue(HighlightKey.self) { value in
            if let value {
                GeometryReader { proxy in
                    let frame = proxy[value]
                    Ellipse()
                        .stroke(Color.red, lineWidth: 2)
                        .padding(-10)
                        .frame(width: frame.width, height: frame.height)
                        .offset(x: frame.origin.x, y: frame.origin.y)
                }
            }
        }
    }
}
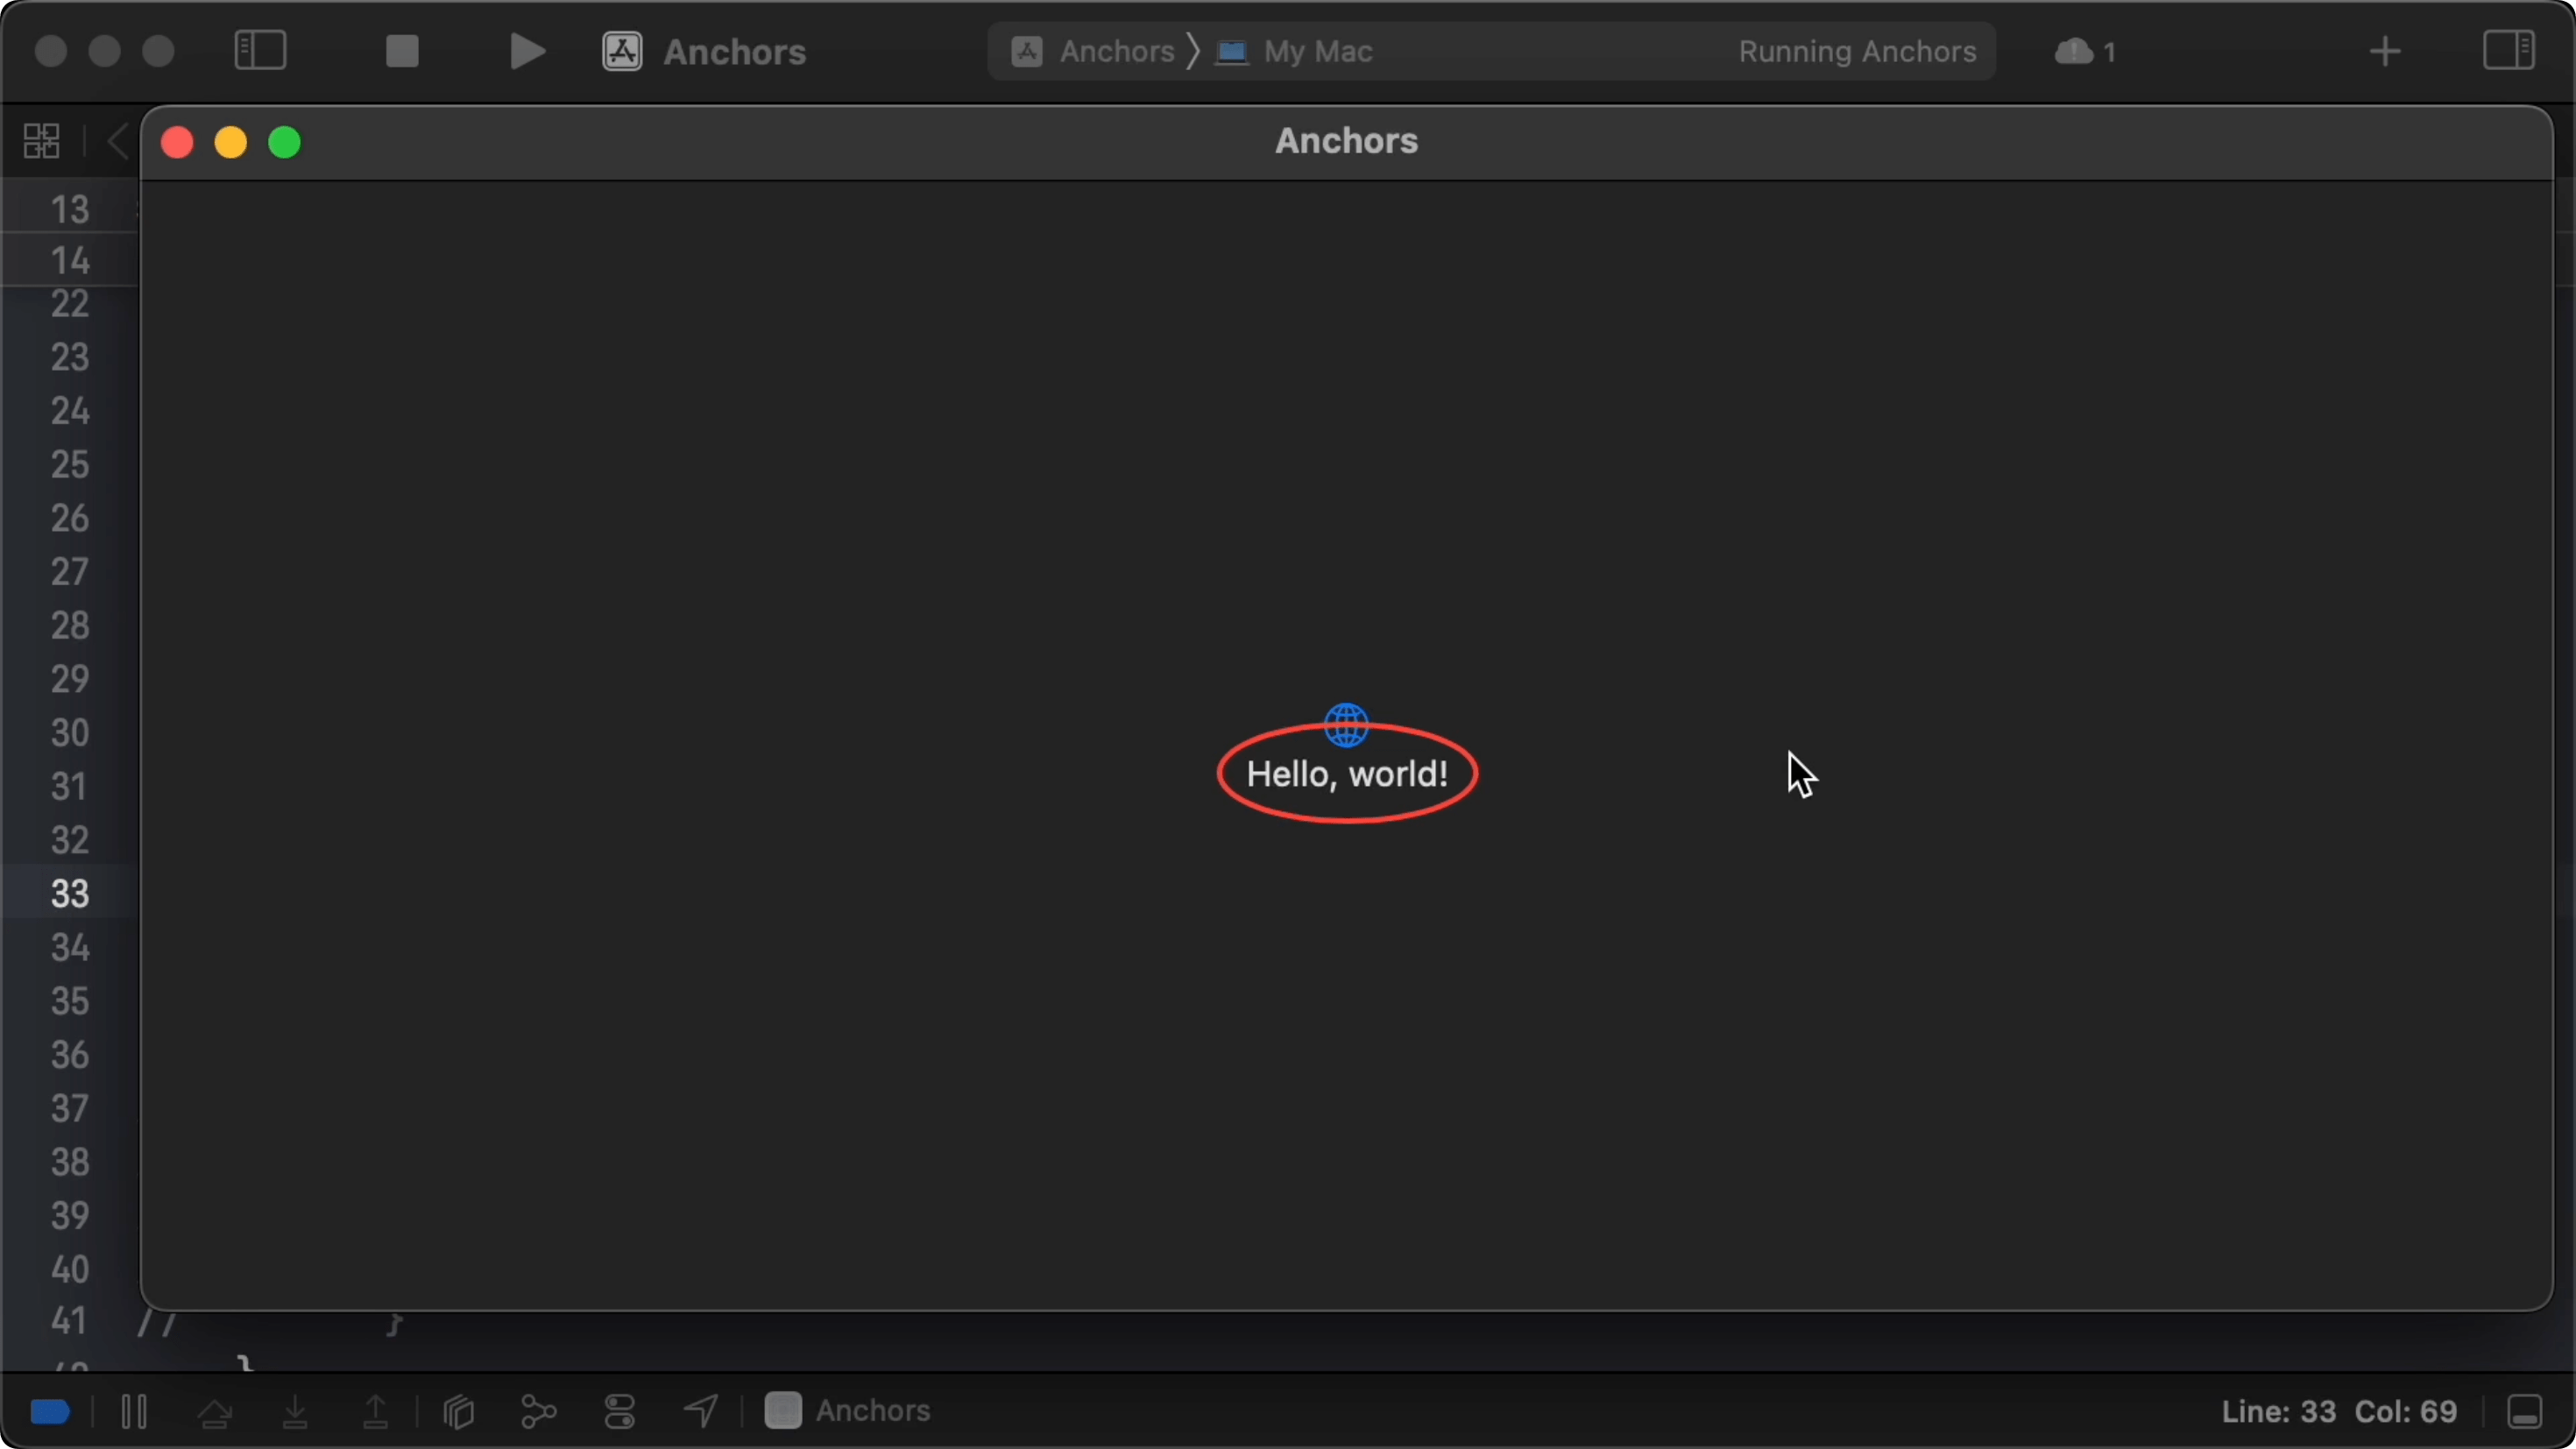
10:59 The frame we get from resolving the anchor is defined in the local
coordinate space of the geometry reader, which is equal to the overlay's
coordinate space. That's why we can do an offset with the frame's origin to move
the ellipse to the correct spot.
11:30 We've done all of this using SwiftUI's anchors. Now the question
is, how do we implement this ourselves?
Recreating the API
11:41 We need an anchor struct, and it should be generic over any type
of value. In our example, this type is CGRect, but depending on the anchor's
source, it could also be CGPoint or CGSize:
public struct MyAnchor<Value> {

}
11:58 We also need our own version of the anchorPreference method.
This method is generic over the anchor's value type and the preference key type.
It takes a key and a source for the anchor as its first two parameters. In
SwiftUI's version, the source parameter is of type Anchor<Value>.Source, so we
need to add a Source type on our anchor as well:
public struct MyAnchor<Value> {
    public struct Source {
    }
}

extension View {
    func myAnchorPreference<Value, Key: PreferenceKey>(key: Key.Type, value: MyAnchor<Value>.Source, ...) -> some View {

    }
}
12:55 The third parameter is a transform function that turns an anchor
into a value that can be propagated with the preference key:
extension View {
    func myAnchorPreference<Value, Key: PreferenceKey>(key: Key.Type, value: MyAnchor<Value>.Source, transform: @escaping (MyAnchor<Value>) -> Key.Value) -> some View {

    }
}
13:32 The anchor's source describes what we want to measure — in our
example, we use it to request the bounds of the source. This is only a
description of the value we'll measure, because we don't yet know the actual
bounds at the time of initializing the anchor:
public struct MyAnchor<Value> {
    public struct Source {
        var measure: (CGRect) -> Value
    }
}

extension MyAnchor<CGRect>.Source {
    public static var bounds: Self {

    }
}
14:34 To do the measuring, the source struct needs to receive the global
frame. With that frame, we can measure things like the bounds and the
top-leading points. So we add a measure property, which is a function that
takes a CGRect in the global coordinate space and returns an anchor value:
extension MyAnchor<CGRect>.Source {
    public static var bounds: Self {
        Self(measure: { $0 })
    }
}
15:47 The value returned by the measure function is also defined in
the global coordinate space. We need to store this value in the anchor:
public struct MyAnchor<Value> {
    var value: Value

    public struct Source {
        var measure: (CGRect) -> Value
    }
}
Implementation
16:39 To implement myAnchorPreference, we need to measure the view on
which we're installed, pass the rect into a Source, and then turn that into an
anchor and propagate it up.
17:02 To measure the view, we need a geometry reader. We get the view's
frame in the global coordinate space from the geometry proxy:
extension View {
    func myAnchorPreference<Value, Key: PreferenceKey>(key: Key.Type, value: MyAnchor<Value>.Source, transform: @escaping (MyAnchor<Value>) -> Key.Value) -> some View {
        overlay(GeometryReader { proxy in
            let frame = proxy.frame(in: .global)


        })
    }
}
17:35 We pass this frame into the measure function of value, which
gives us the geometric value for the anchor:
extension View {
    func myAnchorPreference<Value, Key: PreferenceKey>(key: Key.Type, value: MyAnchor<Value>.Source, transform: @escaping (MyAnchor<Value>) -> Key.Value) -> some View {
        overlay(GeometryReader { proxy in
            let frame = proxy.frame(in: .global)
            let anchorValue = value.measure(frame)
            let anchor = MyAnchor(value: anchorValue)

        })
    }
}
18:22 We call the transform function to turn this anchor into a
preference value and, finally, we propagate the anchor up using the key:
extension View {
    func myAnchorPreference<Value, Key: PreferenceKey>(key: Key.Type, value: MyAnchor<Value>.Source, transform: @escaping (MyAnchor<Value>) -> Key.Value) -> some View {
        overlay(GeometryReader { proxy in
            let frame = proxy.frame(in: .global)
            let anchorValue = value.measure(frame)
            let anchor = MyAnchor(value: anchorValue)
            Color.clear.preference(key: key, value: transform(anchor))
        })
    }
}
19:22 To compare our results to SwiftUI's implementation, we replicate
the example using our own API. We need a different preference key for this,
because we want to propagate a MyAnchor instead of an Anchor:
struct MyHighlightKey: PreferenceKey {
    static var defaultValue: MyAnchor<CGRect>?

    static func reduce(value: inout MyAnchor<CGRect>?, nextValue: () -> MyAnchor<CGRect>?) {
        value = value ?? nextValue()
    }
}

struct ContentView: View {
    var body: some View {
        VStack {
            Image(systemName: "globe")
                .imageScale(.large)
                .foregroundColor(.accentColor)
            Text("Hello, world!")
                .anchorPreference(key: HighlightKey.self, value: .bounds, transform: { $0 })
                .myAnchorPreference(key: MyHighlightKey.self, value: .bounds, transform: { $0 })
        }
        .padding()
        .overlayPreferenceValue(HighlightKey.self) { value in
            if let value {
                GeometryReader { proxy in
                    let frame = proxy[value]
                    Ellipse()
                        .stroke(Color.red, lineWidth: 2)
                        .padding(-10)
                        .frame(width: frame.width, height: frame.height)
                        .offset(x: frame.origin.x, y: frame.origin.y)
                }
            }
        }
        .overlayPreferenceValue(MyHighlightKey.self) { value in
            if let value {
                GeometryReader { proxy in
                    let frame = proxy[value]
                    Ellipse()
                        .stroke(Color.red, lineWidth: 2)
                        .padding(-10)
                        .frame(width: frame.width, height: frame.height)
                        .offset(x: frame.origin.x, y: frame.origin.y)
                }
            }
        }
    }
}
20:53 We still need a subscript on the geometry proxy to resolve our
anchor. This subscript takes a MyAnchor<Value>, and it should return a Value
in the local coordinate space:
extension GeometryProxy {
    subscript<Value>(_ anchor: MyAnchor<Value>) -> Value {

    }
}
21:41 Within the geometry proxy, we have access to the view's frame in
global coordinates, and we should be able to somehow compute a local anchor
value from that frame:
extension GeometryProxy {
    subscript<Value>(_ anchor: MyAnchor<Value>) -> Value {
        let s = frame(in: .global)
        let o = anchor.value

    }
}
22:40 s is the frame of the current view (or self) in global
coordinates, and o is the other frame in global coordinates. Assuming the
anchor's value is a CGRect, we can offset the o frame to convert it into the
local coordinate space of s:
extension GeometryProxy {
    subscript(_ anchor: MyAnchor<CGRect>) -> CGRect {
        let s = frame(in: .global)
        let o = anchor.value
        return o.offsetBy(dx: -s.origin.x, dy: -s.origin.y)
    }
}
Comparing Results
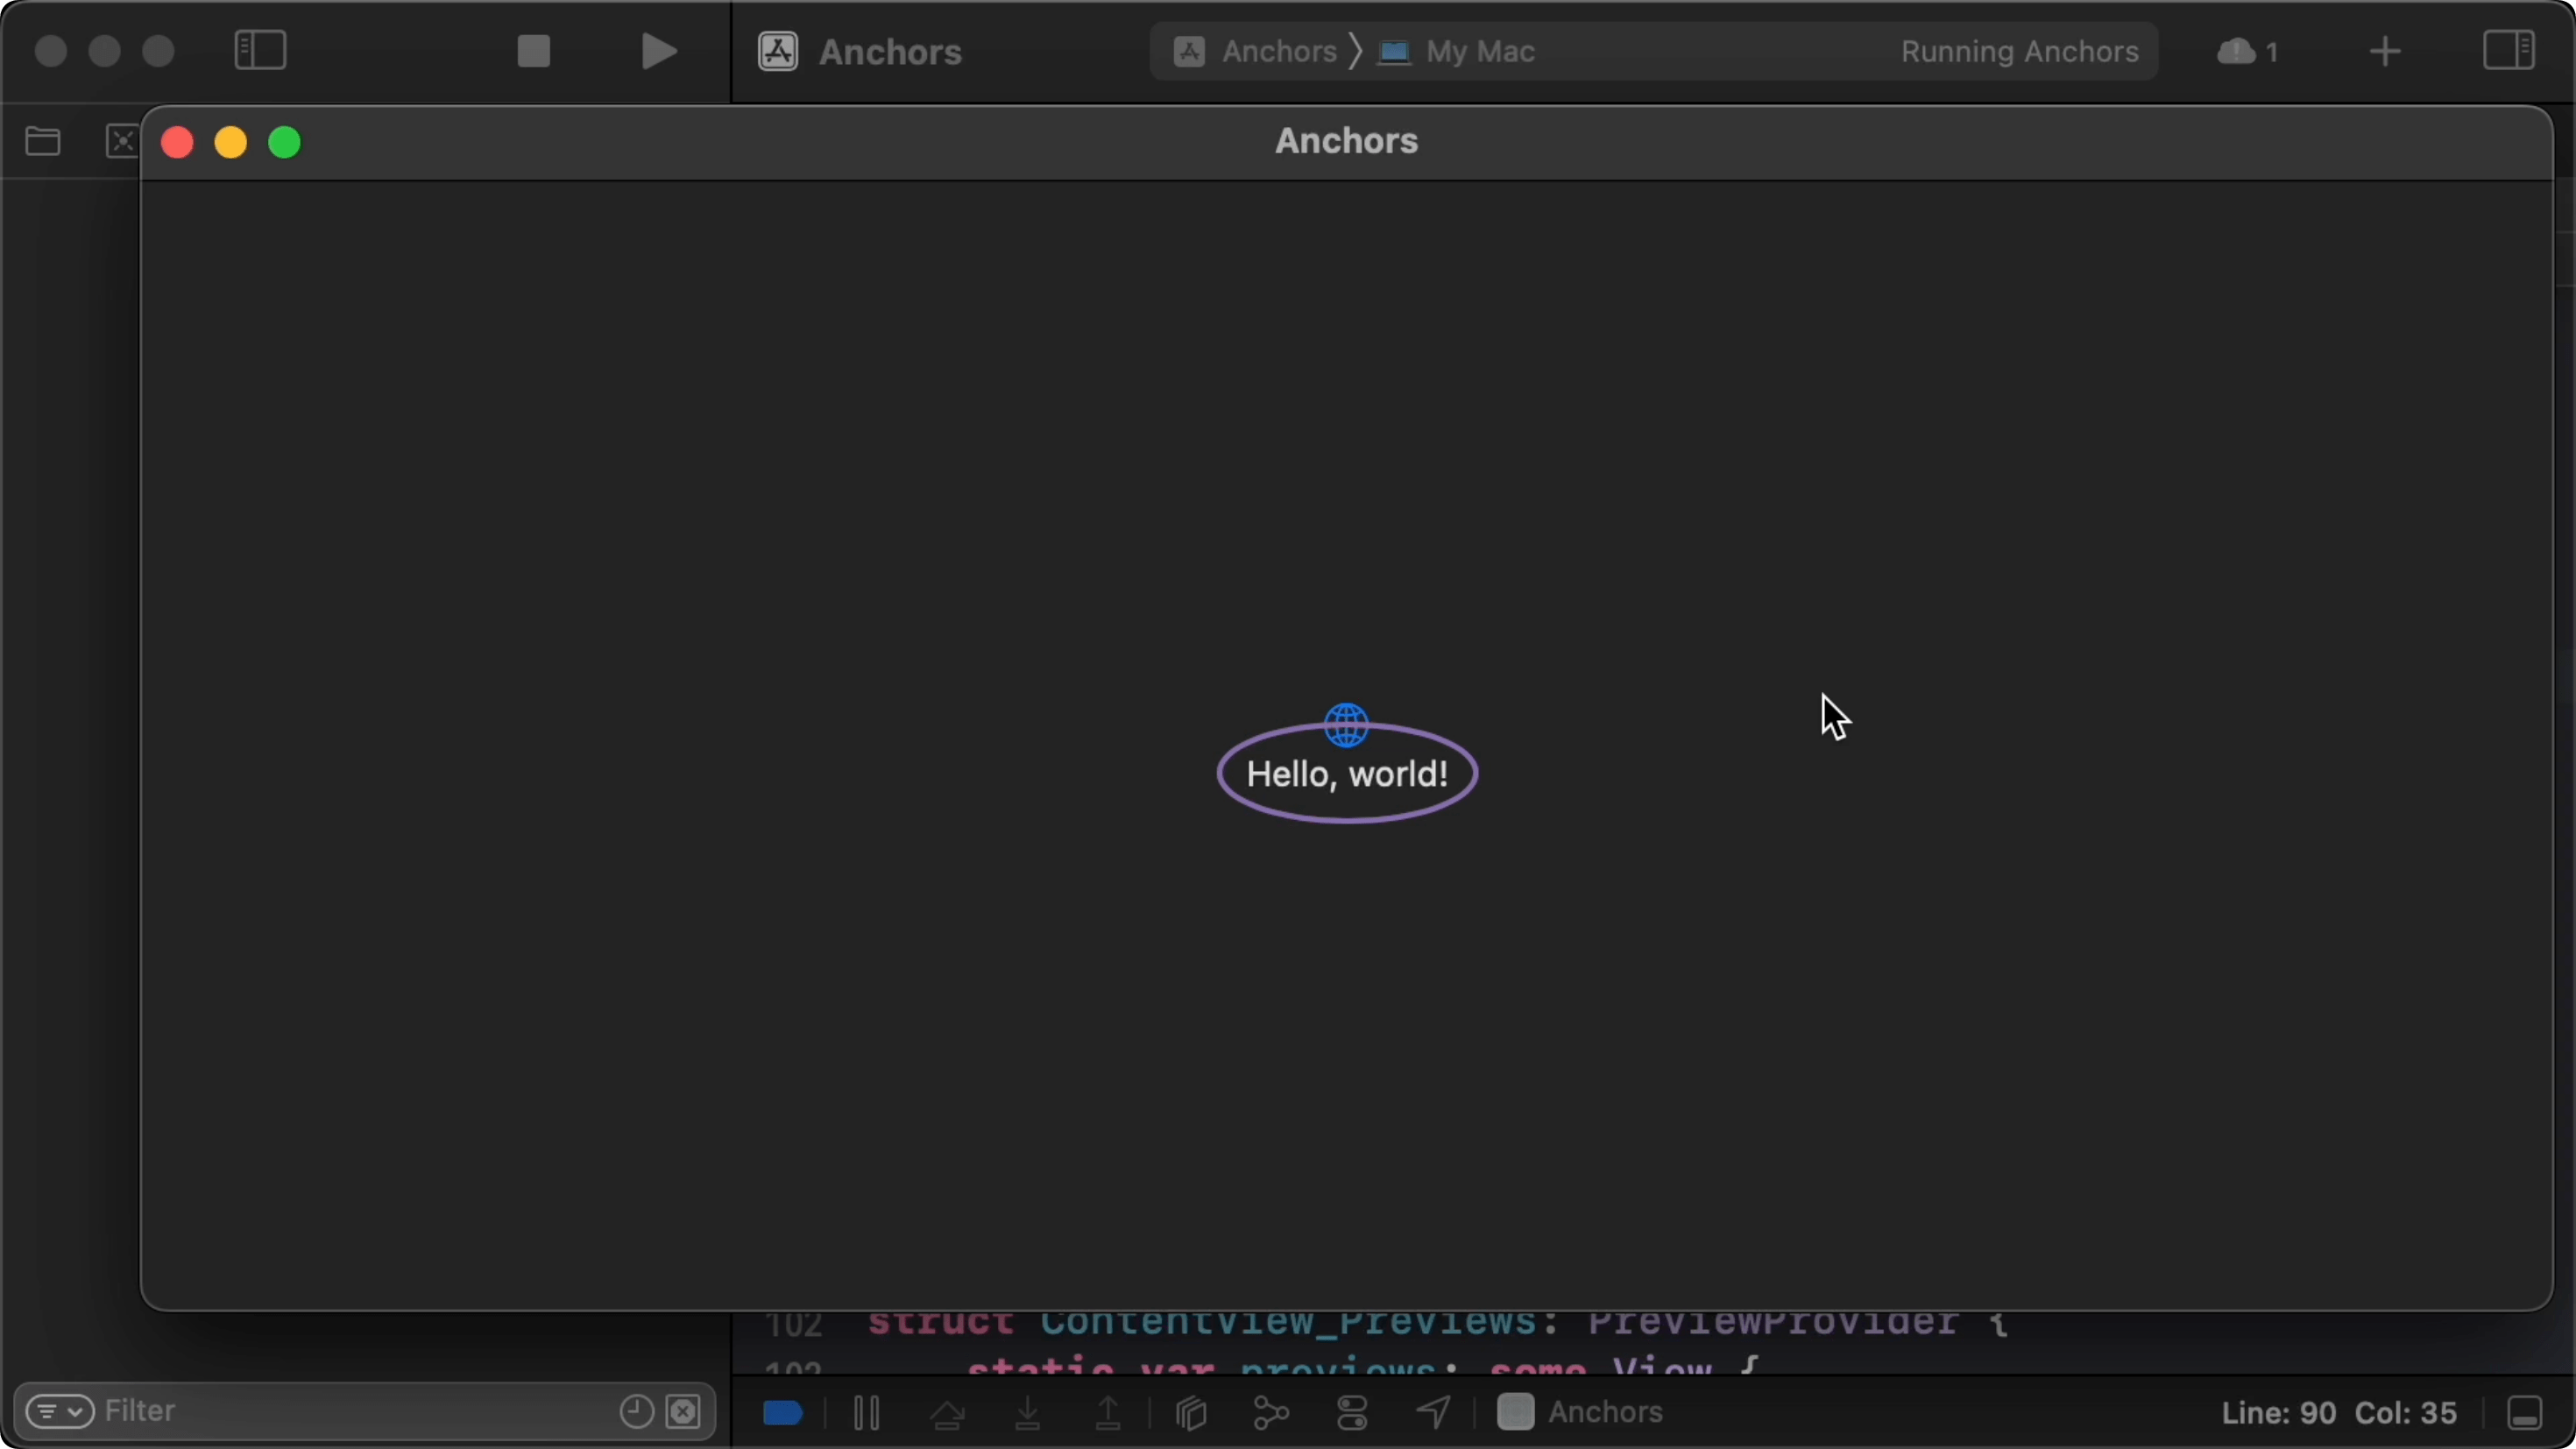
24:32 Let's see if this works. We give a lower opacity to the overlay
using our custom implementation. We now see both the red and blue ellipses in
the same spot:
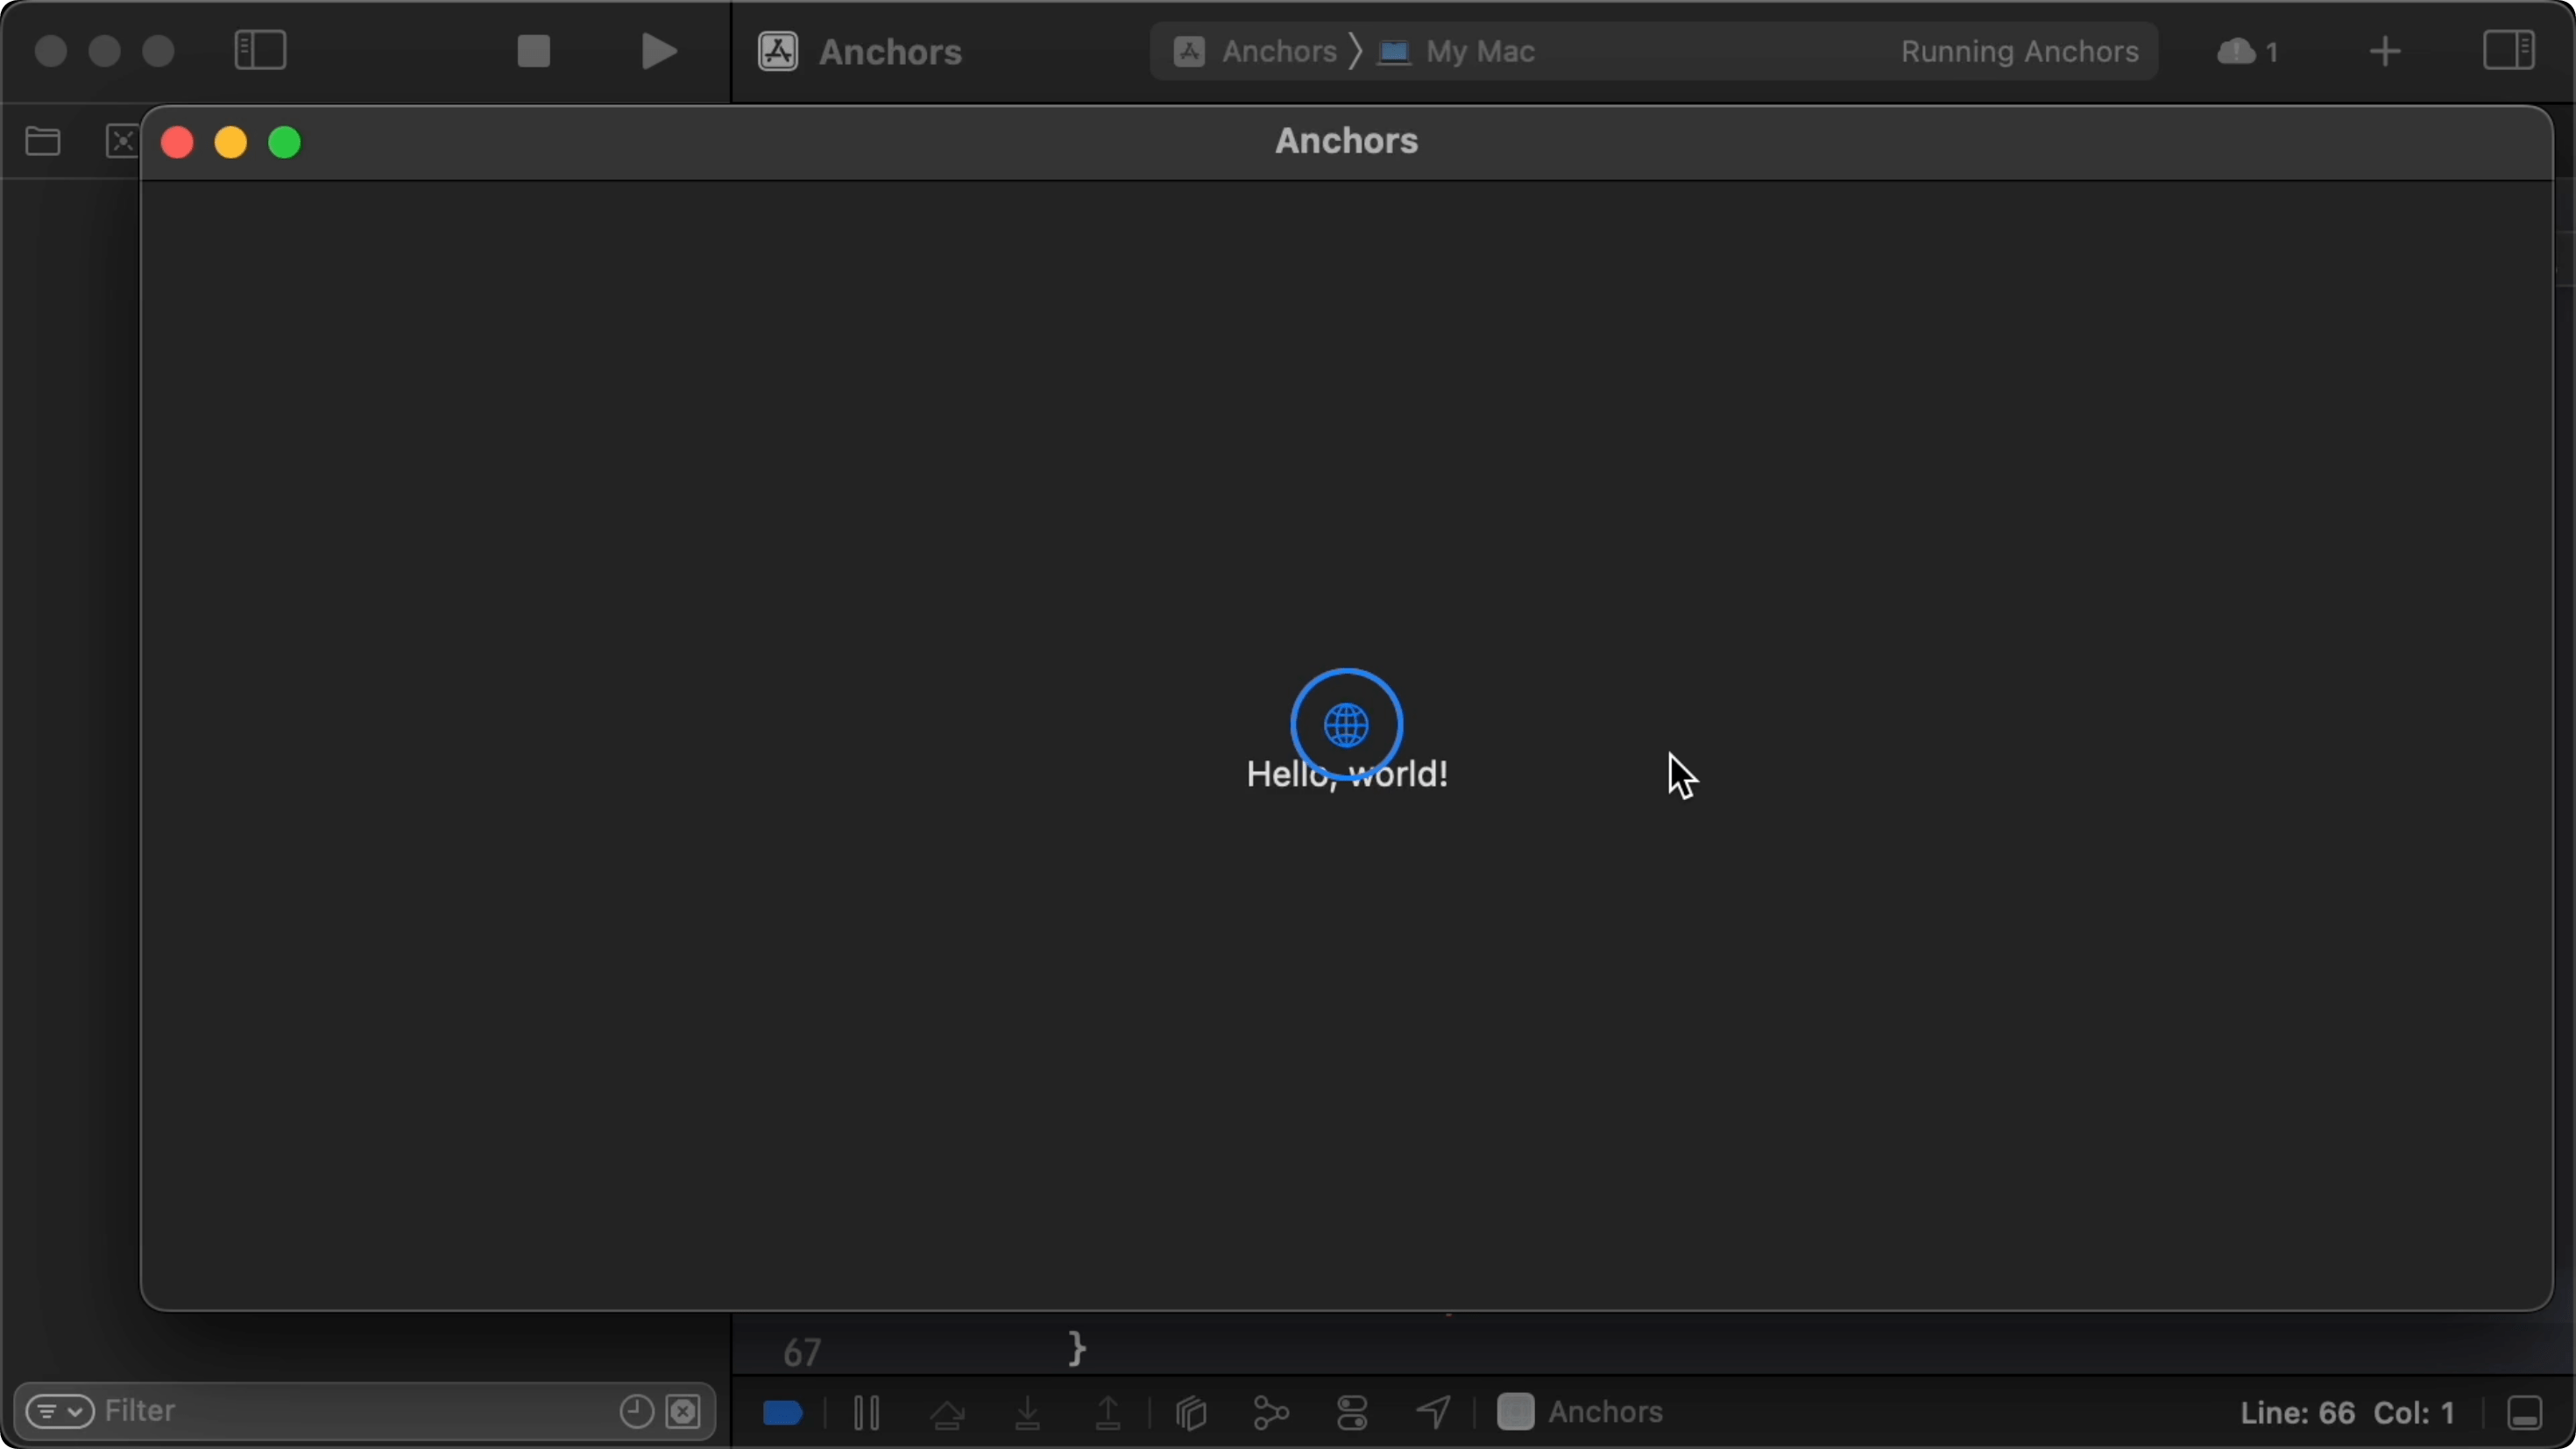
25:21 And when we move the anchors to the globe icon, the ellipses get
drawn around the icon:
25:41 We add a Boolean state property and a toggle to easily switch
between SwiftUI's implementation and our own. The Boolean determines the opacity
for each overlay:
struct ContentView: View {
    @State private var myVisibility = true

    var body: some View {
        VStack {
            Toggle("Show MyAnchor implementation", isOn: $myVisibility)
                .padding(.bottom, 30)
            Image(systemName: "globe")
                .imageScale(.large)
                .foregroundColor(.accentColor)
            Text("Hello, world!")
                .anchorPreference(key: HighlightKey.self, value: .bounds, transform: { $0 })
                .myAnchorPreference(key: MyHighlightKey.self, value: .bounds, transform: { $0 })
        }
        .padding()
        .overlayPreferenceValue(HighlightKey.self) { value in
            if let value {
                GeometryReader { proxy in
                    let frame = proxy[value]
                    Ellipse()
                        .stroke(Color.red, lineWidth: 2)
                        .padding(-10)
                        .frame(width: frame.width, height: frame.height)
                        .offset(x: frame.origin.x, y: frame.origin.y)
                        .opacity(myVisibility ? 0 : 1)
                }
            }
        }
        .overlayPreferenceValue(MyHighlightKey.self) { value in
            if let value {
                GeometryReader { proxy in
                    let frame = proxy[value]
                    Ellipse()
                        .stroke(Color.red, lineWidth: 2)
                        .padding(-10)
                        .frame(width: frame.width, height: frame.height)
                        .offset(x: frame.origin.x, y: frame.origin.y)
                        .opacity(myVisibility ? 1 : 0)
                }
            }
        }
    }
}
27:16 We see no difference when toggling between the two
implementations, which means we're on the right track.
27:21 There are more things to be done. To add support for different
kinds of values other than CGRect, we'll definitely need to change the
subscript on GeometryProxy. We should also think about how a view might be
transformed and how this affects the resolution of our anchor. Let's continue
next week.


