This episode is freely available thanks to the support of our subscribers

Subscribers get exclusive access to new and all previous subscriber-only episodes, video downloads, and 30% discount for team members. Become a Subscriber

We start building a marquee component using SwiftUI's timeline view.

00:06 Today we'll start building a little container view that should feel familiar to people who did HTML in the early days: the marquee. We'll build this as a container of horizontally laid out views that slide across the frame. The moment the content scrolls out of view, it wraps back to the beginning so that the animation can play continuously.

00:37 We'd also like to make the marquee interactive so that we can scroll through the content. After releasing the drag, the marquee should resume the automatic scrolling in a fluid motion by taking the drag gesture's velocity into account.

Setting Up

00:52 We create a struct, Marquee, that's generic over a content view. In the body, we wrap the content view in an HStack, and we give the stack a fixed spacing:

struct Marquee<Content: View>: View {
    @ViewBuilder var content: Content
    
    var body: some View {
        HStack(spacing: 10) {
            content
        }
    }
}

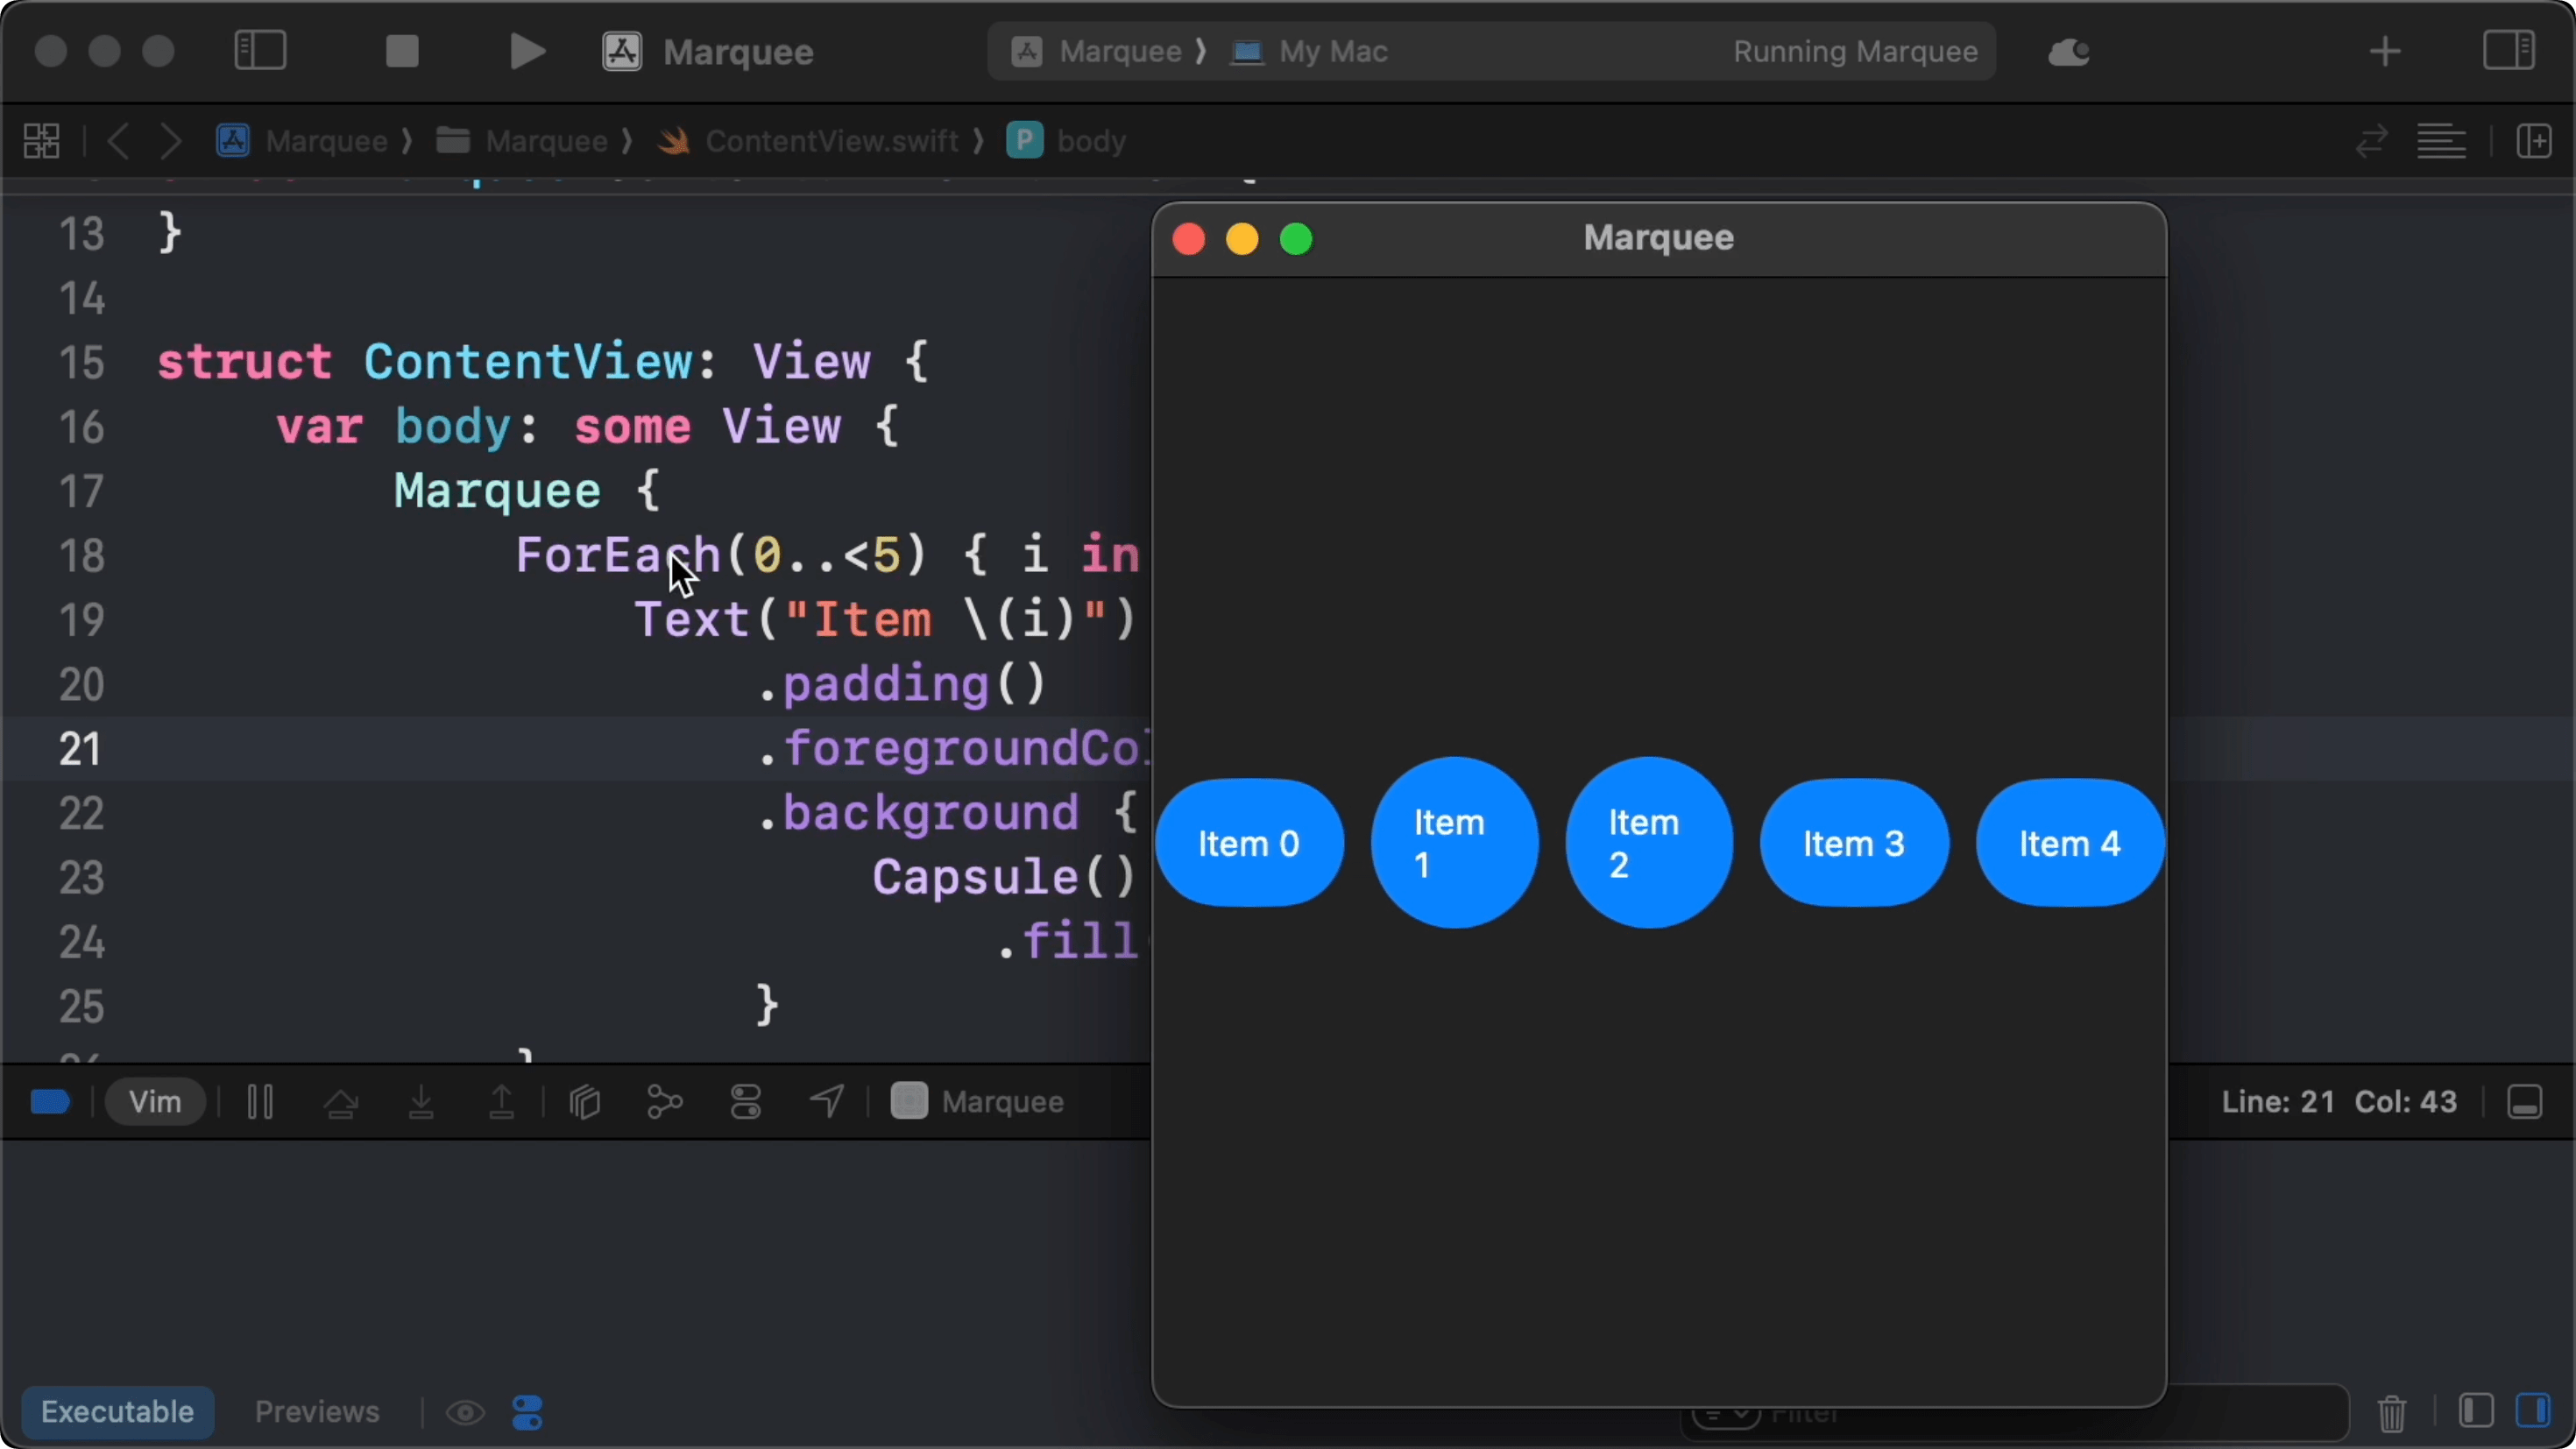
01:36 In our ContentView, we create a marquee containing a number of text views with blue, capsule-shaped backgrounds:

struct ContentView: View {
    var body: some View {
        Marquee {
            ForEach(0..<5) { i in
                Text("Item \(i)")
                    .padding()
                    .foregroundColor(.white)
                    .background {
                        Capsule()
                            .fill(.blue)
                    }
            }
        }
    }
}

02:06 By default, the views are resized to fit in the available space, but we want the items to stretch to their ideal size, and we want to align them to the leading edge. So, we call fixedSize on the content, and we wrap it in a flexible frame that can grow infinitely wide:

struct Marquee<Content: View>: View {
    @ViewBuilder var content: Content

    var body: some View {
        HStack(spacing: 10) {
            content
                .fixedSize()
        }
        .frame(maxWidth: .infinity, alignment: .leading)
    }
}

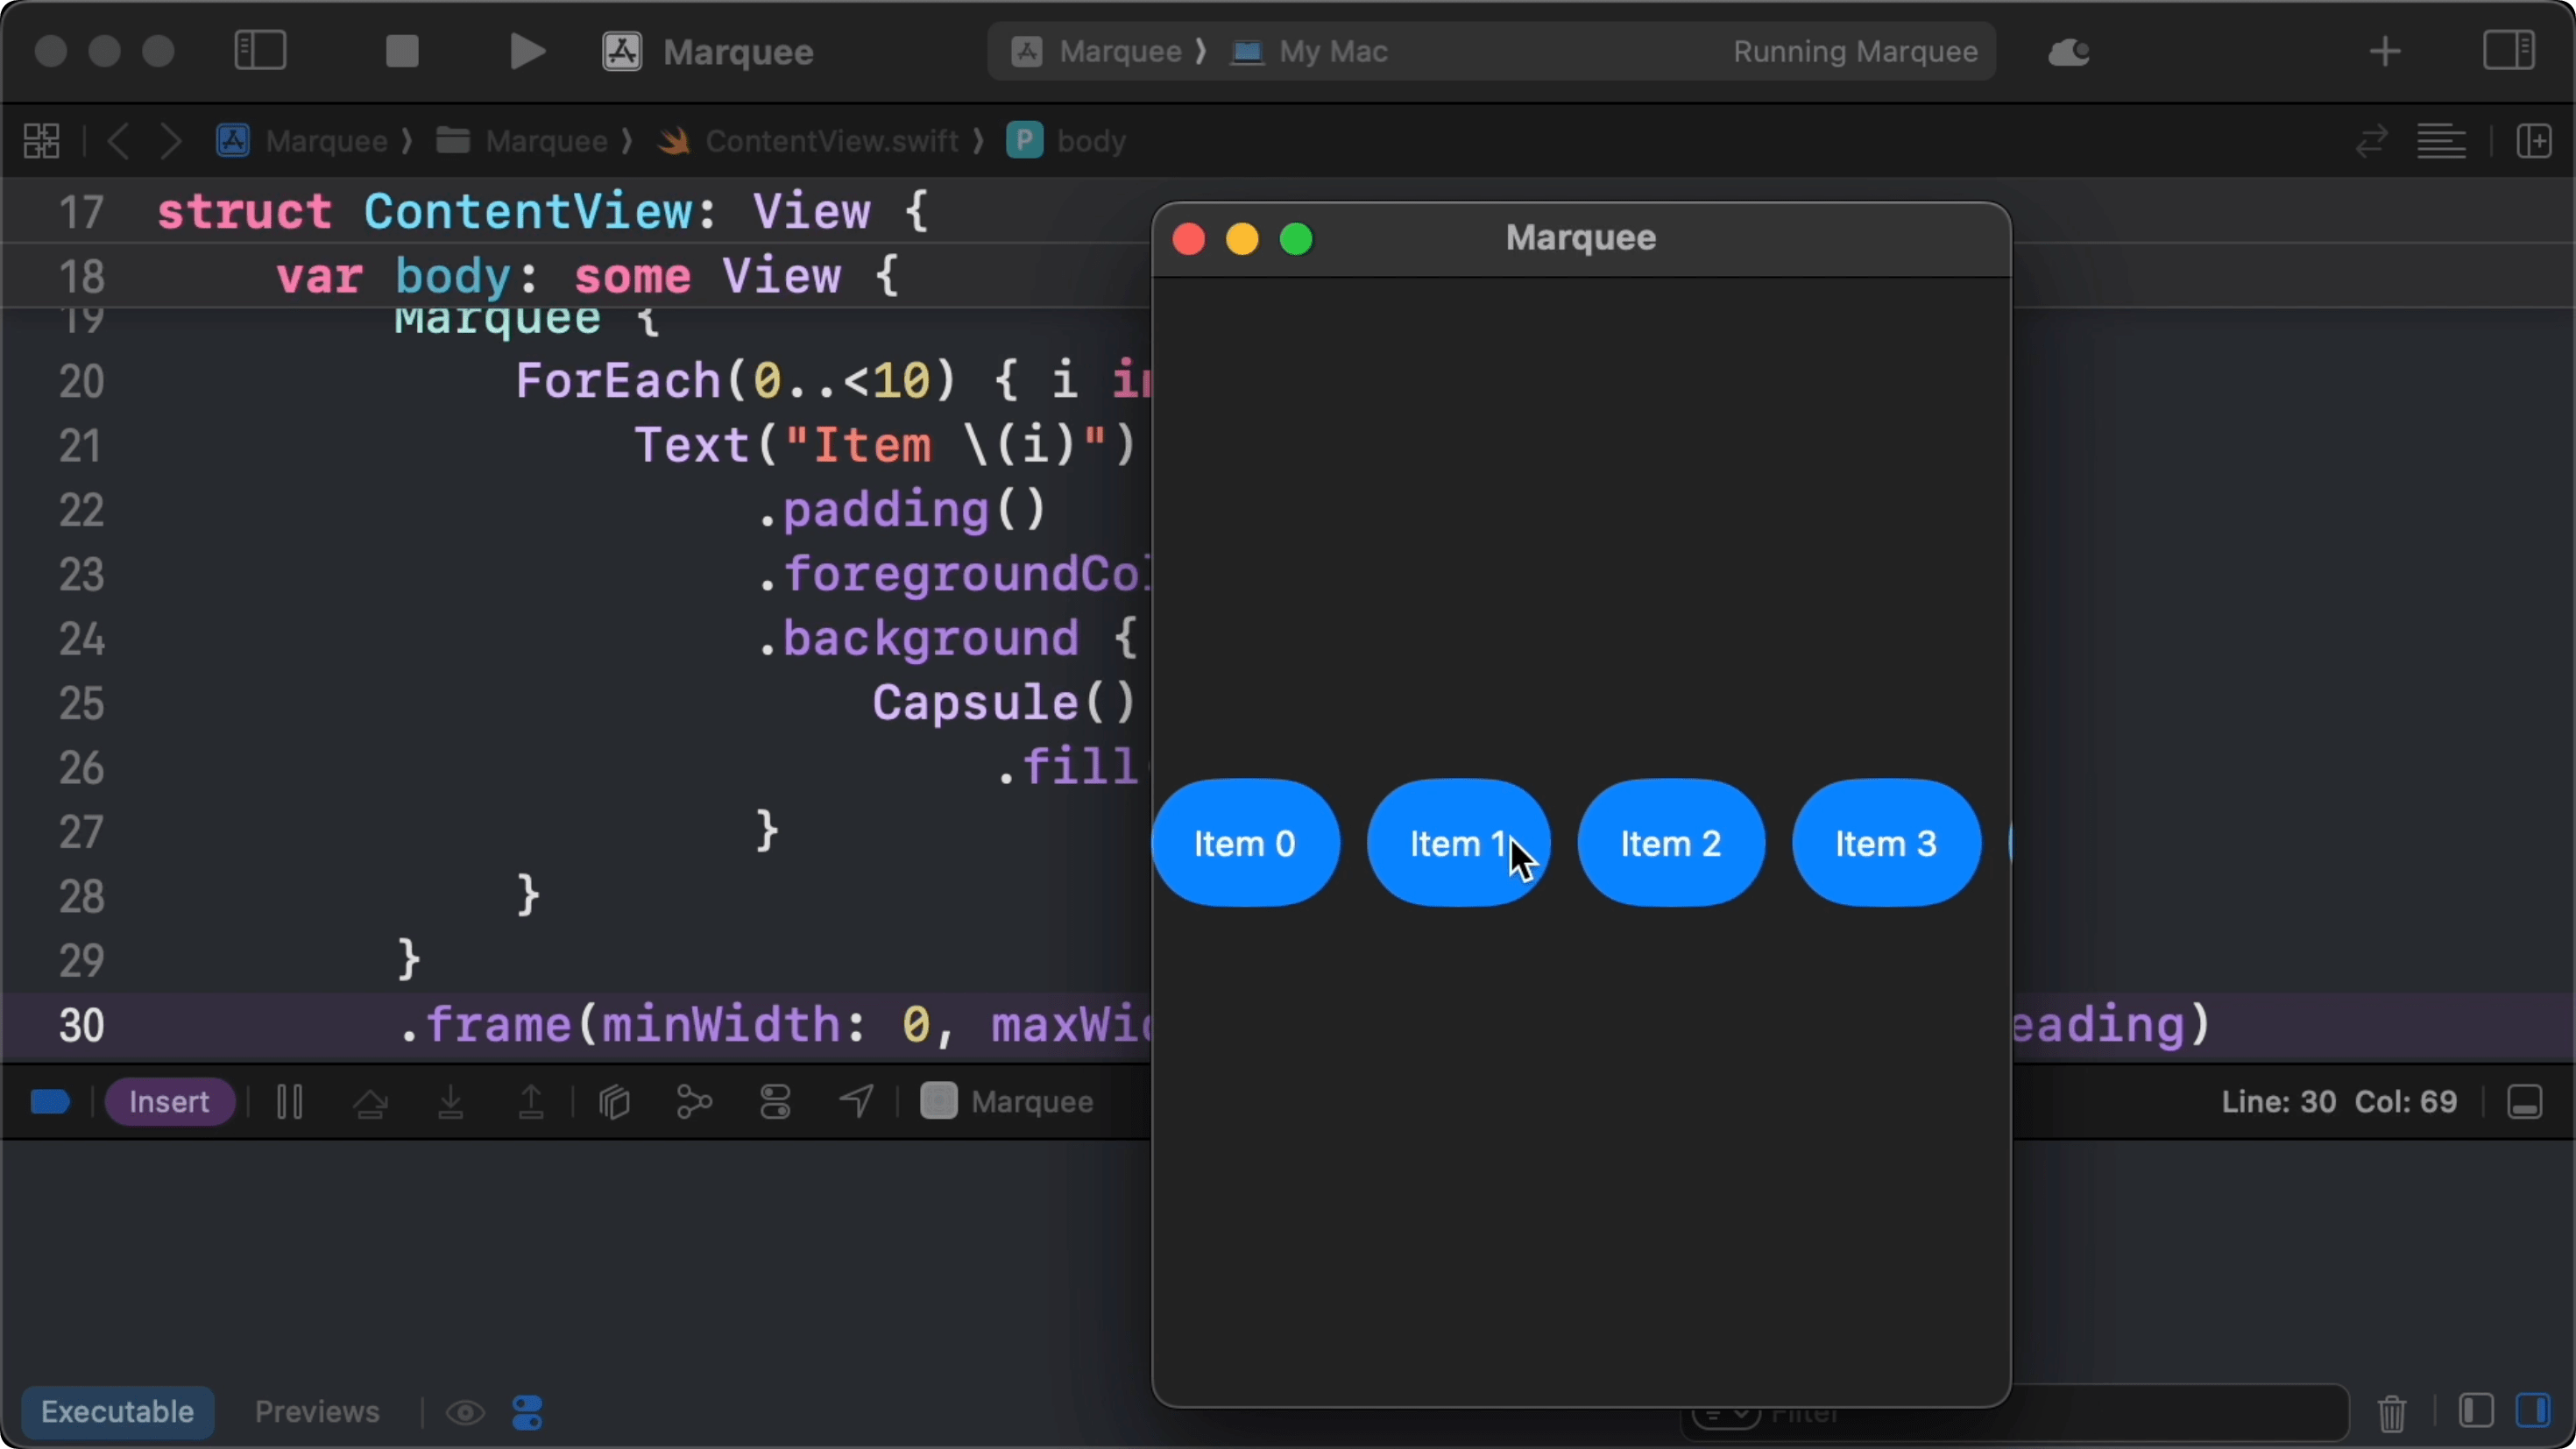
02:30 If we increase the number of items, we still only see the first few items aligned to the leading edge, and we see more of the remaining items as we make the window wider. Because we're running the app on a Mac, we have to add a flexible frame to our ContentView to make the window resizable:

struct ContentView: View {
    var body: some View {
        Marquee {
            ForEach(0..<5) { i in
                Text("Item \(i)")
                    .padding()
                    .foregroundColor(.white)
                    .background {
                        Capsule()
                            .fill(.blue)
                    }
            }
        }
        .frame(minWidth: 0, maxWidth: .infinity, alignment: .leading)
    }
}

03:12 Next, we can make the items move by applying and animating an offset. And to make the contents loop, we should place multiple instances of content next to each other. That way, we can reset the offset when we reach the end of the first batch of items, and it'll look like an endlessly repeating stream of these items.

04:03 The number of repeated instances needed to fill the available space depends on the size of the container and the size of all the items. We'll compute this number later on, but for now, we can use two copies of content:

struct Marquee<Content: View>: View {
    @ViewBuilder var content: Content

    var body: some View {
        HStack(spacing: 10) {
            content
            content
        }
        .fixedSize()
        .frame(maxWidth: .infinity, alignment: .leading)
    }
}

Animating

05:51 There are various ways to create the animated scrolling. On newer platforms like iOS 17, we could use an animation with a completion handler that restarts the animation. We could also create a custom view or view modifier that conforms to Animatable. But since we eventually want to make this interactive, we'll choose to work with a TimelineView.

06:34 In the context of SwiftUI, the timeline view is a bit of an odd one. Normally, our views are redrawn when we modify some observed piece of state. This happens automatically, so we don't have to think about view updates in a lot of cases. But with a timeline view, instead of responding to state changes, we recreate the content view for every update of the display. In other words, we don't animate from point A to point B, but we get called for a certain tick of the clock, and we recompute our view for that specific moment in time. This system will come in handy when we introduce gestures to our marquee.

07:35 We add a TimelineView, and we move the HStack into its content view builder. The TimelineView lets us specify the schedule at which it should reexecute its content view. We can use the .animation constant for this schedule, which means the timeline view will call us at the necessary refresh rate to get a smooth animation. This could be 60 or 120 times per second, depending on what the system decides:

struct Marquee<Content: View>: View {
    @ViewBuilder var content: Content

    var body: some View {
        TimelineView(.animation) { context in
            HStack(spacing: 10) {
                content
                content
            }
            .fixedSize()
        }
        .frame(maxWidth: .infinity, alignment: .leading)
    }
}

08:11 The content view closure receives a context value containing a Date that represents the current time. If we define a start time, we can compare context.date to it to find out how many seconds have elapsed. By multiplying this duration with a velocity, we can compute an offset for the HStack:

struct Marquee<Content: View>: View {
    var velocity: Double = 50
    @ViewBuilder var content: Content
    @State private var startDate = Date.now

    var body: some View {
        TimelineView(.animation) { context in
            let offset = context.date.timeIntervalSince(startDate) * velocity
            HStack(spacing: 10) {
                content
                content
            }
            .offset(x: offset)
            .fixedSize()
        }
        .frame(maxWidth: .infinity, alignment: .leading)
    }
}

10:05 We reset the startDate in onAppear so that the offset starts at zero when the view appears:

struct Marquee<Content: View>: View {
    var velocity: Double = 50
    @ViewBuilder var content: Content
    @State private var startDate = Date.now

    var body: some View {
        TimelineView(.animation) { context in
            let offset = context.date.timeIntervalSince(startDate) * velocity
            HStack(spacing: 10) {
                content
                content
            }
            .offset(x: offset)
            .fixedSize()
        }
        .onAppear { startDate = .now }
        .frame(maxWidth: .infinity, alignment: .leading)
    }
}

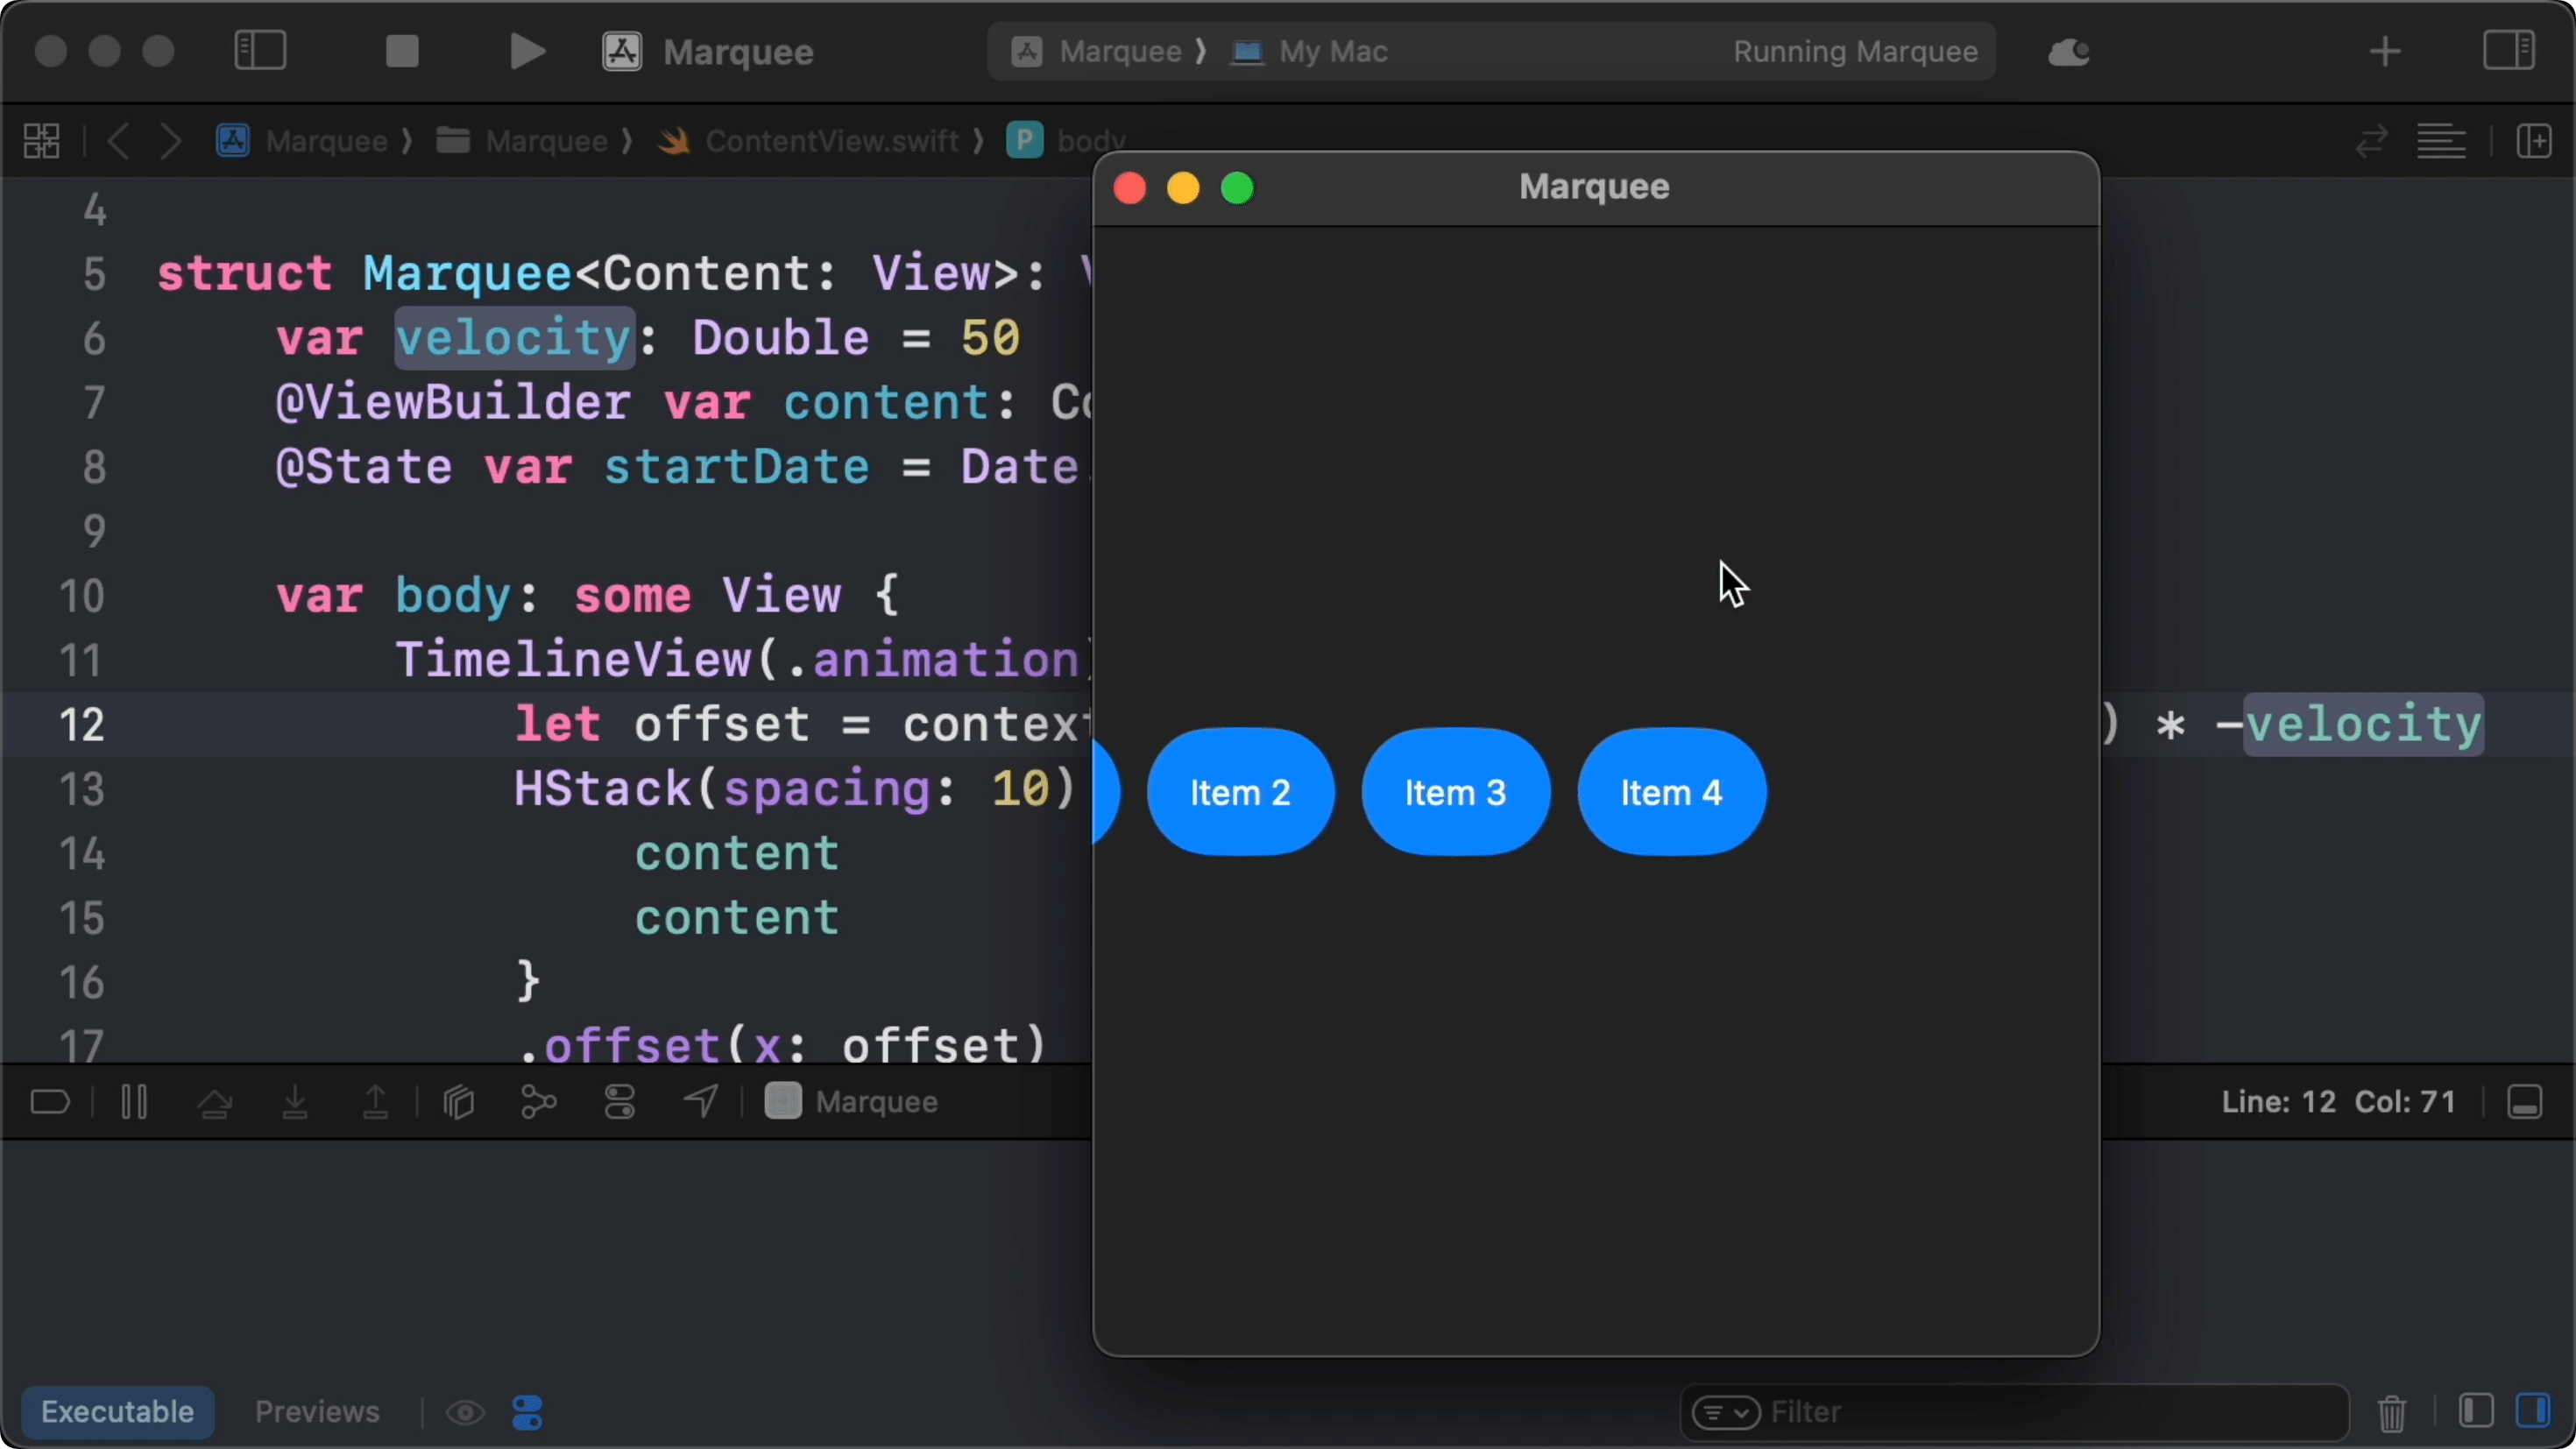
10:33 When we run this, we see that the items move in the wrong direction. So we flip the offset to make them scroll to the left:

struct Marquee<Content: View>: View {
    var velocity: Double = 50
    @ViewBuilder var content: Content
    @State private var startDate = Date.now

    var body: some View {
        TimelineView(.animation) { context in
            let offset = context.date.timeIntervalSince(startDate) * -velocity
            HStack(spacing: 10) {
                content
                content
            }
            .offset(x: offset)
            .fixedSize()
        }
        .onAppear { startDate = .now }
        .frame(maxWidth: .infinity, alignment: .leading)
    }
}

Wrapping the Animation

10:54 Now the marquee scrolls in the correct direction, but once the second batch of items is over, we run into blank space. So our next step is to detect at which point we should wrap the contents.

11:12 To do that, we need to measure the size of our content. We create a state variable for the width, and we call a measureWidth helper on the first instance of the content view:

struct Marquee<Content: View>: View {
    var velocity: Double = 50
    @ViewBuilder var content: Content
    @State private var startDate = Date.now
    @State private var contentWidth: CGFloat? = nil

    func offset(at time: Date) -> CGFloat {
        var result = time.timeIntervalSince(startDate) * -velocity
        if let c = contentWidth {
            result.formTruncatingRemainder(dividingBy: c + spacing)
        }
        return result
    }

    var body: some View {
        TimelineView(.animation) { context in
            let offset = context.date.timeIntervalSince(startDate) * -velocity
            HStack(spacing: 10) {
                content
                    .measureWidth { contentWidth = $0 }
                content
            }
            .offset(x: offset)
            .fixedSize()
        }
        .onAppear { startDate = .now }
        .frame(maxWidth: .infinity, alignment: .leading)
    }
}

11:43 In an extension of View, we write the helper function, which takes a closure that receives the measured width. We can call the closure in an onChange(of:) block or by using preferences. In this case, we don't need to combine multiple widths, so a single onChange(of:) call will probably suffice.

12:19 We start with an overlay or background layer so that we don't influence the view's layout. Inside this layer, we create a GeometryReader containing a Color.clear placeholder view on which we can call onAppear and onChange(of:).

12:43 For iOS 17+ and macOS 14+, there's a newer version of the onChange API that runs the closure with the initial value as well, which would allow us to skip the onAppear call. But since we haven't yet updated our Mac, we have to use the old API:

extension View {
    func measureWidth(_ onChange: @escaping (CGFloat) -> ()) -> some View {
        background {
            GeometryReader { proxy in
                let width = proxy.size.width
                Color.clear
                    .onAppear {
                        onChange(width)
                    }
                    .onChange(of: width) { _ in
                        onChange(width)
                    }
            }
        }
    }
}

13:28 In Marquee, we write a function to compute the offset for a given time. First, we get the seconds since the start date, and we multiply this time by the velocity. To create a loop from this offset, we want to divide it by the content width and only use the remainder of this division. That way, it doesn't matter if 1, 10, or 500 seconds have passed; the offset will always be less than the content's width:

struct Marquee<Content: View>: View {
    var velocity: Double = 50
    @ViewBuilder var content: Content
    @State private var startDate = Date.now
    @State private var contentWidth: CGFloat? = nil

    func offset(at time: Date) -> CGFloat {
        var result = time.timeIntervalSince(startDate) * -velocity
        if let c = contentWidth {
            result.formTruncatingRemainder(dividingBy: c)
        }
        return result
    }

    var body: some View {
        TimelineView(.animation) { context in
            HStack(spacing: spacing) {
                content
                    .measureWidth { contentWidth = $0 }
                content
            }
            .offset(x: offset(at: context.date))
            .fixedSize()
        }
        .onAppear { startDate = .now }
        .frame(maxWidth: .infinity, alignment: .leading)
    }
}

14:56 The marquee jumps a little bit. The first thing that's wrong is the fact that we're measuring the width of a single item — because we're calling measureWidth on content, which contains multiple items. We can fix this by wrapping content in an HStack and measuring the stack in its entirety:

struct Marquee<Content: View>: View {
    // ...

    var body: some View {
        TimelineView(.animation) { context in
            HStack(spacing: spacing) {
                HStack(spacing: spacing) {
                    content
                }
                .measureWidth { contentWidth = $0 }
                content
            }
            .offset(x: offset(at: context.date))
            .fixedSize()
        }
        .onAppear { startDate = .now }
        .frame(maxWidth: .infinity, alignment: .leading)
        .measureWidth { containerWidth = $0 }
    }
}

15:23 Now the items scroll continuously until the fifth item, but then they jump again because we don't yet take the spacing into account when we wrap the offset. So we add a property to define the spacing, and we use it in our offset(at:) method. We could also make this work with implicit spacing by measuring the origin of the second content batch, but the fixed spacing works fine for now:

struct Marquee<Content: View>: View {
    var velocity: Double = 50
    var spacing: CGFloat = 10
    @ViewBuilder var content: Content
    @State private var startDate = Date.now
    @State private var contentWidth: CGFloat? = nil

    func offset(at time: Date) -> CGFloat {
        var result = time.timeIntervalSince(startDate) * -velocity
        if let c = contentWidth {
            result.formTruncatingRemainder(dividingBy: c + spacing)
        }
        return result
    }

    var body: some View {
        TimelineView(.animation) { context in
            HStack(spacing: spacing) {
                HStack(spacing: spacing) {
                    content
                }
                .measureWidth { contentWidth = $0 }
                content
            }
            .offset(x: offset(at: context.date))
            .fixedSize()
        }
        .onAppear { startDate = .now }
        .frame(maxWidth: .infinity, alignment: .leading)
    }
}

Number of Copies

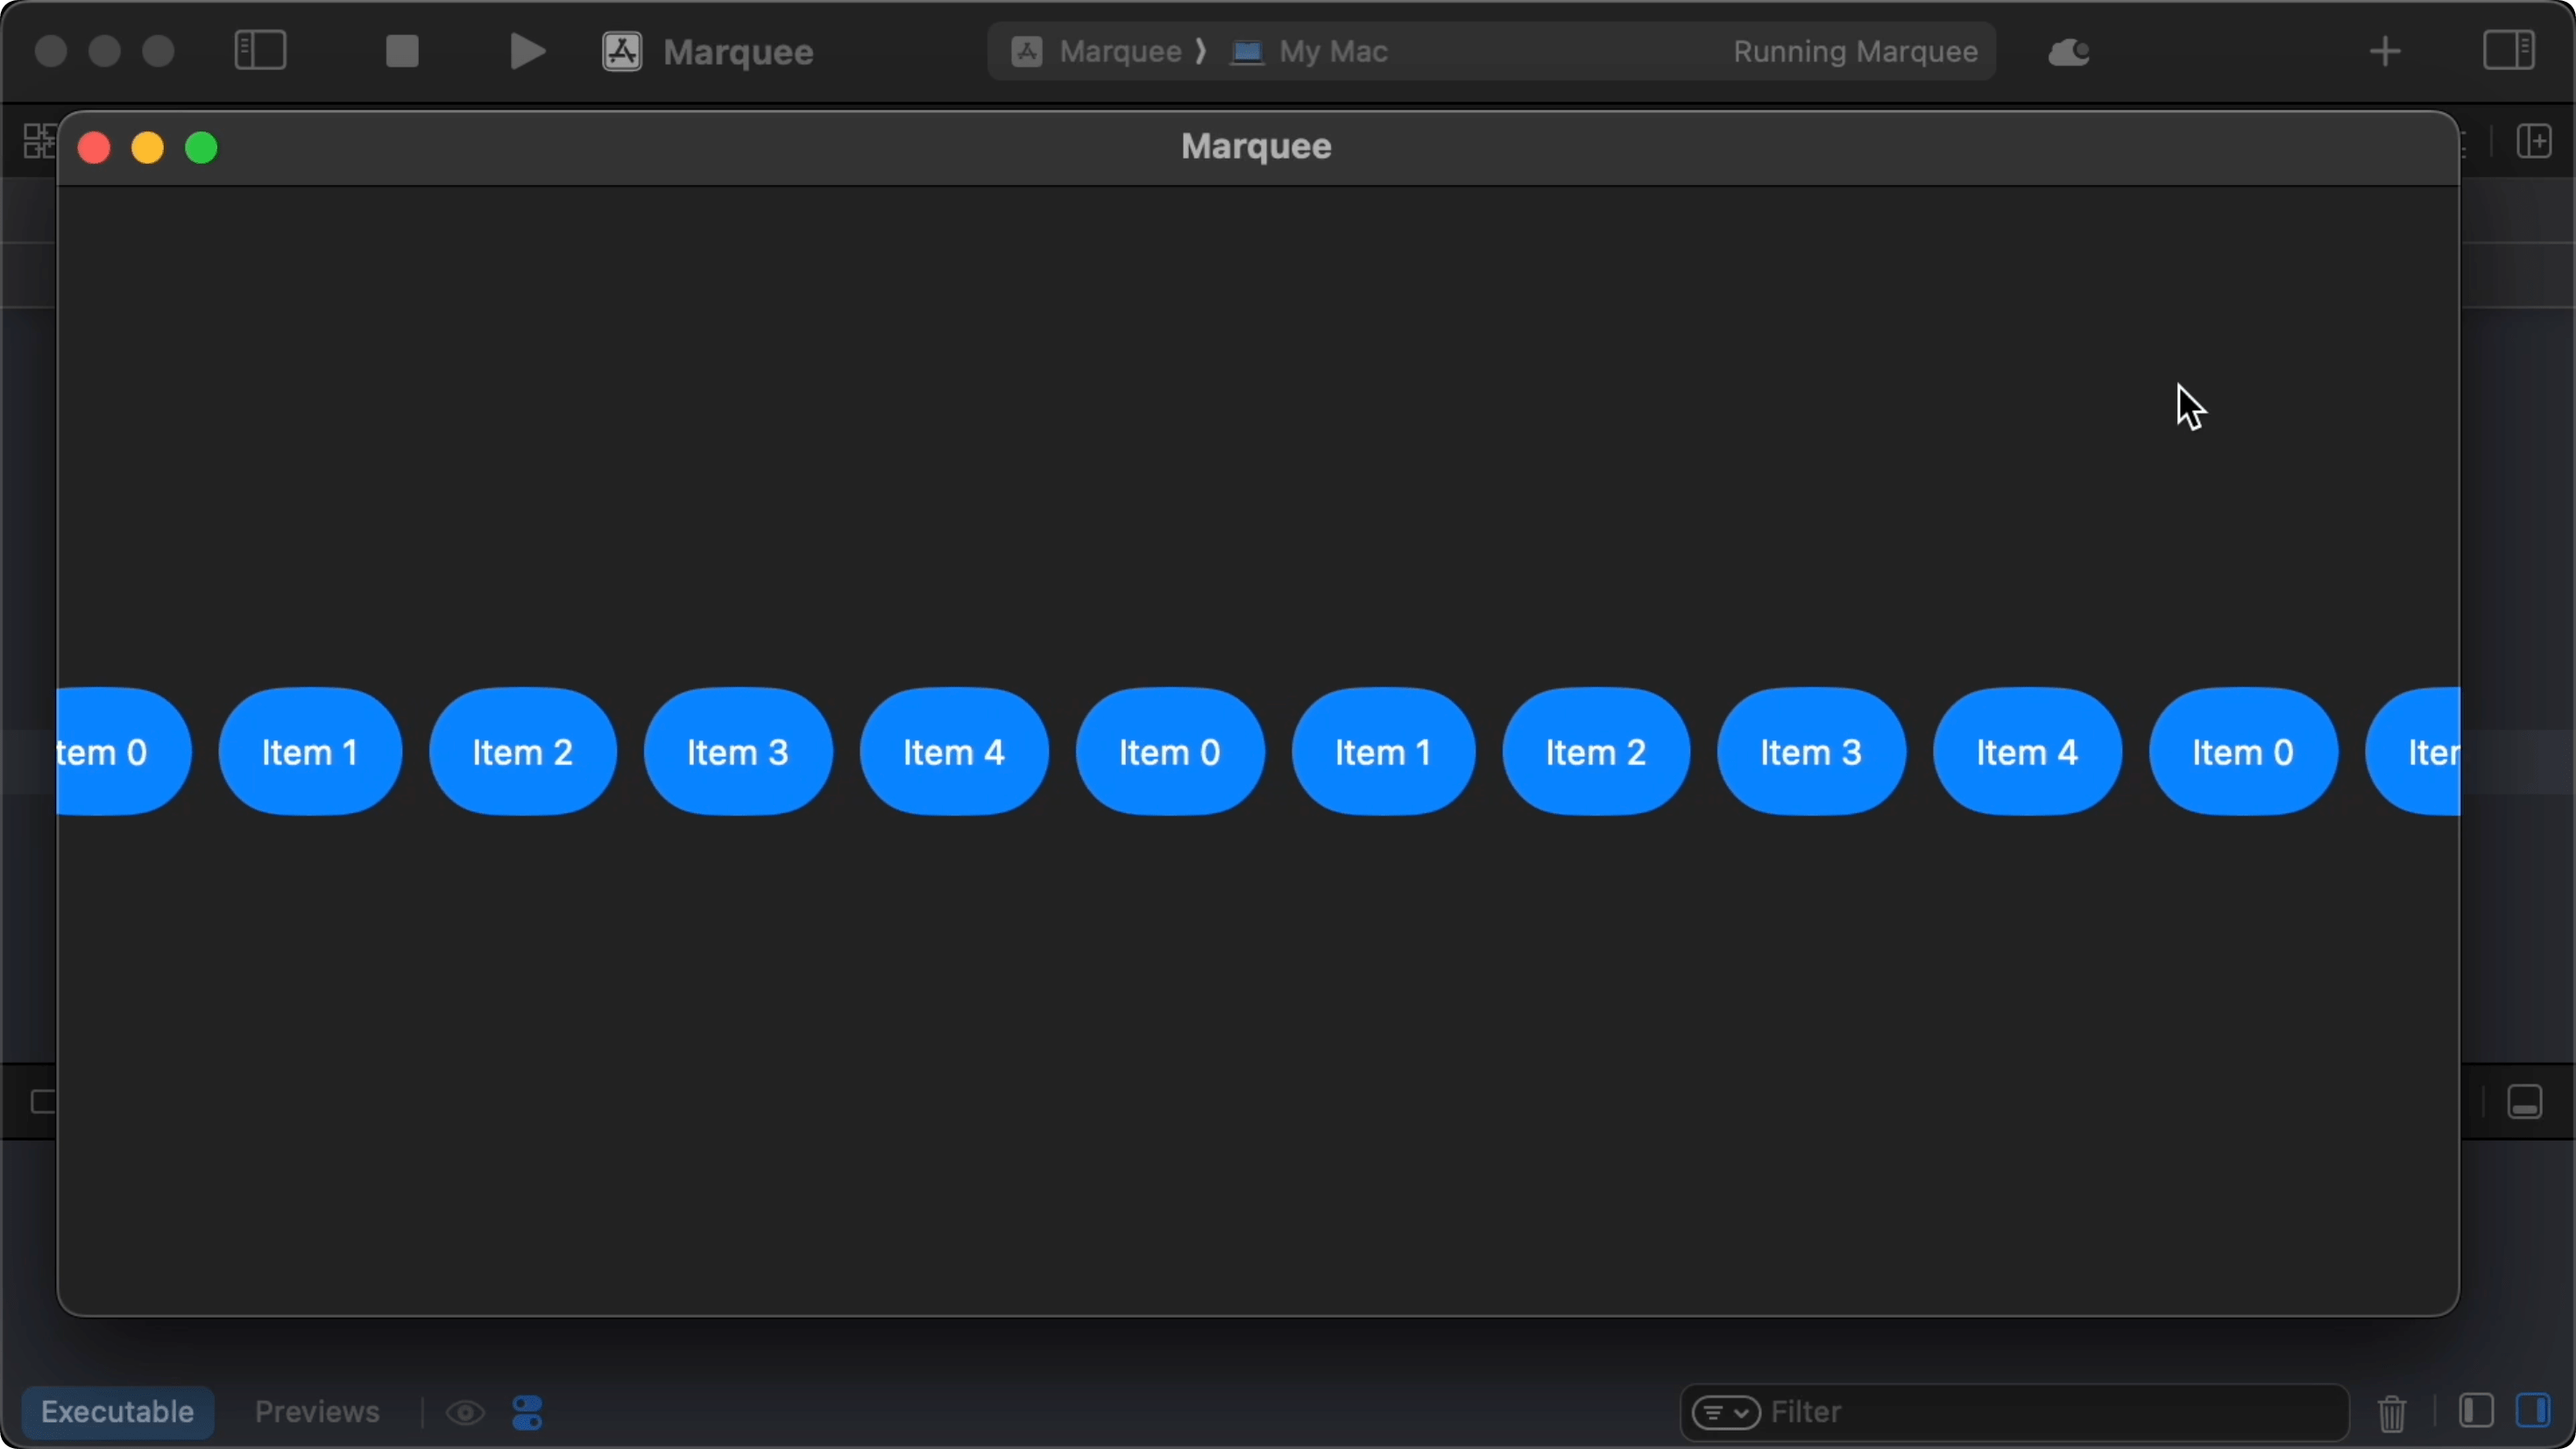
16:10 The marquee's animation now loops smoothly. What's still an issue is the blank space that becomes visible when we make our window wider than the marquee's contents. We already know how wide the contents are, and by also measuring the container's width, we can calculate how many times we should repeat content to fill the container.

16:56 We measure the width of the outer frame of the TimelineView, and we store it in a new state variable, containerWidth:

struct Marquee<Content: View>: View {
    var velocity: Double = 50
    var spacing: CGFloat = 10
    @ViewBuilder var content: Content
    @State private var startDate = Date.now
    @State private var contentWidth: CGFloat? = nil
    @State private var containerWidth: CGFloat? = nil

    // ...

    var body: some View {
        TimelineView(.animation) { context in
            // ...
        }
        .onAppear { startDate = .now }
        .frame(maxWidth: .infinity, alignment: .leading)
        .measureWidth { containerWidth = $0 }
    }
}

17:34 From the ratio of the content width to the container width, we want to determine how many copies of content we should add to the HStack. We first check if the sum of contentWidth and spacing isn't zero, and then we divide containerWidth by it. To figure out how we should round the result of this division, we can think of an example. Let's say the available space is 100 points wide and our content is 30 points wide. The result of this division is something like 3.33. That means we need at least four instances of our content to fill the space. But since we already have one instance, we can round down to find the number of extra instances:

struct Marquee<Content: View>: View {
    // ...

    var body: some View {
        TimelineView(.animation) { context in
            HStack(spacing: spacing) {
                HStack(spacing: spacing) {
                    content
                }
                .measureWidth { contentWidth = $0 }
                let contentPlusSpacing = (contentWidth ?? 0) + spacing
                if contentPlusSpacing != 0 {
                    let numberOfInstances = Int(((containerWidth ?? 0) / contentPlusSpacing).rounded(.down))
                    ForEach(Array(0..<numberOfInstances), id: \.self) { _ in
                        content
                    }
                }
            }
            .offset(x: offset(at: context.date))
            .fixedSize()
        }
        .onAppear { startDate = .now }
        .frame(maxWidth: .infinity, alignment: .leading)
        .measureWidth { containerWidth = $0 }
    }
}

21:29 When we run the app and make our window wider, we can see that we're still seeing some blank space at the end, because we didn't account for the contents scrolling offscreen. We need one extra instance to fill the screen when the first batch of items is scrolled away.

22:02 So, instead of rounding the result of the division down, we round it up:

let numberOfInstances = Int(((containerWidth ?? 0) / contentPlusSpacing).rounded(.up))

22:27 There's still a small stutter when the animation wraps, but we'll take a look at that later. So far, we've taken a rather elaborate approach to animating the marquee — a normal animation with a completion handler would've been simpler. However, with the current setup, we're ready to make the marquee interactive.

Resources

  • Sample Code

    Written in Swift 5.9

  • Episode Video

    Become a subscriber to download episode videos.

In Collection

158 Episodes · 55h00min

See All Collections

Episode Details

Recent Episodes

See All

Unlock Full Access

Subscribe to Swift Talk

  • Watch All Episodes

    A new episode every week

  • icon-benefit-download Created with Sketch.

    Download Episodes

    Take Swift Talk with you when you're offline

  • Support Us

    With your help we can keep producing new episodes