00:06 We're still on the topic of Swift strings, and today we'll be
looking at issues you may encounter when working with both String and
NSString. If you use text APIs from AppKit and Foundation, you have to deal
with both string types, and there are some tricky differences to be aware of.
00:28 We'll use a small example app to play with strings and ranges
within strings. The first thing we want to look at are the differences between
ranges of Swift strings and NSStrings.
Converting Range to NSRange
00:55 When we type into the search field, we want to highlight the found
word in the text view. The view controller already has a method, search, in
which we can use the text property that gives us the search field's text as a
String:
func search(_ searchTerm: String) {
    guard let range = text.range(of: searchTerm) else { return }

}
01:43 After finding the range in the Swift string, we want to highlight
this range in the text view using the method showFindIndicator(for charRange: NSRange) on NSTextView. Unfortunately, we can't directly pass our Range to
this method — we should first convert it with a new NSRange initializer:
func search(_ searchTerm: String) {
    guard let range = text.range(of: searchTerm) else { return }
    let nsRange = NSRange(range, in: text)
    textView.showFindIndicator(for: nsRange)
}
02:31 We run the app and see that it works: after entering "Hello" in
the search field, the word "Hello" flashes in the text view. It also does this
if "World" is entered.
02:43 This is a simple solution, but it's easy to get wrong if you don't
use the correct NSRange initializer. We've seen a lot of code on Stack
Overflow and in other places where people manually calculate indices to
construct an NSRange:
func search(_ searchTerm: String) {
    guard let range = text.range(of: searchTerm) else { return }
    let location = text.distance(from: text.startIndex, to: range.lowerBound)
    let length = text.distance(from: range.lowerBound, to: range.upperBound)
    let nsRange = NSRange(location: location, length: length)
    textView.showFindIndicator(for: nsRange)
}
04:09 This code compiles, but it's wrong. We might not notice at first,
because if we search for "Hello," the correct word flashes, but if we search for
"World," the first emoji is highlighted!
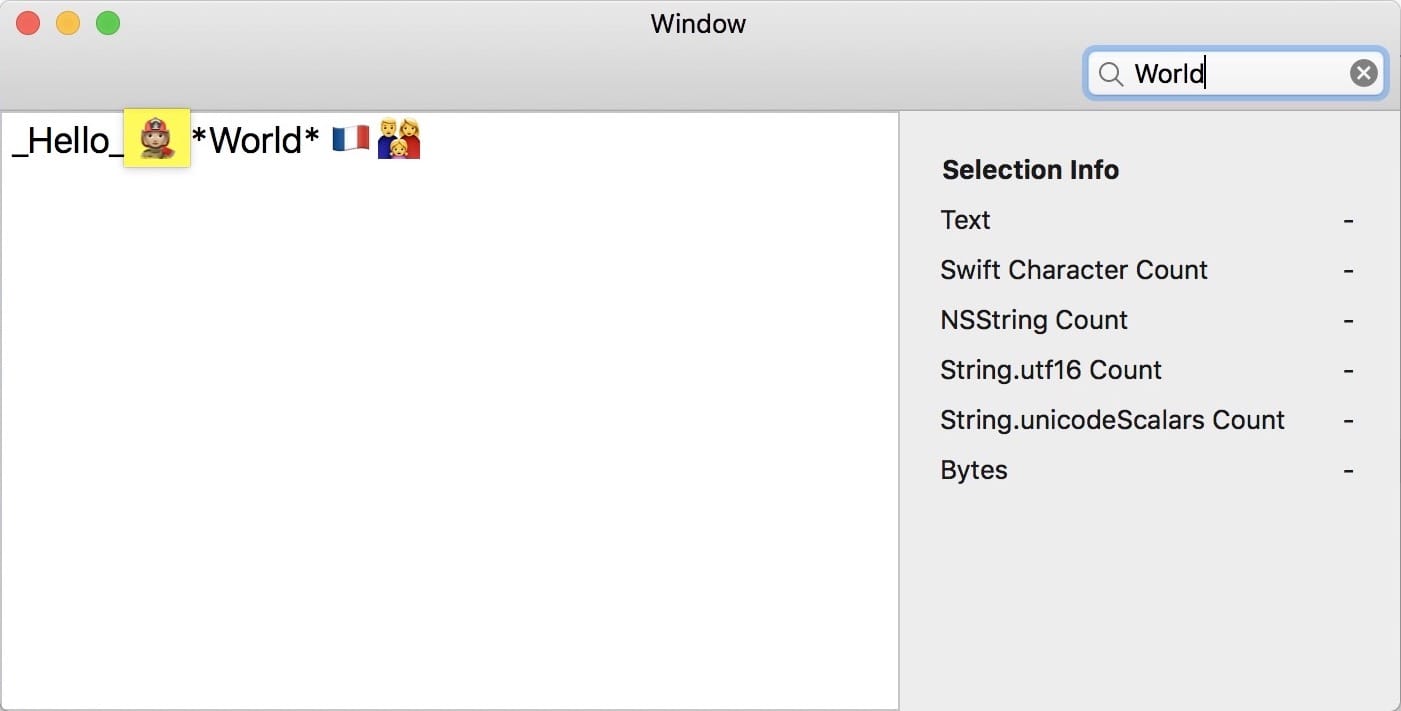
04:26 Swift strings and NSStrings have different concepts of what a
character is; we can't convert a Range to an NSRange by simply counting
indices, because they have a different index type. The female firefighter emoji
with a skin tone modifier may look like a single character, but it isn't for an
NSString.
05:48 We revert back to the correct code and move on to the second
feature of our app.
Converting NSRange to Range
05:42 When we select a part of the text, we want to show some
information about that selection in the info panel to the right. This time, we
have to convert an NSRange from the text view to a Range in order to get the
substring from the Swift string text and pass it to the label named
selection:
func updateInfo() {
    let nsRange = textView.selectedRange()
    let range = Range(nsRange, in: text)!
    let value = String(text[range])
    selection.stringValue = value
}
07:13 We can run the app and check that the correct text shows up as the
selection. Again, it's important to use the right range conversion initializer,
because otherwise we'd have the same problem as before, but this time in the
other direction: from NSRange to Range.
Comparing Character Counts
07:35 Now that we have the correct string, we can populate the other
labels with info about the selection:
func updateInfo() {
    let nsRange = textView.selectedRange()
    let range = Range(nsRange, in: text)!
    let value = String(text[range])
    selection.stringValue = value
    characterCount.stringValue = String(value.count)
    nsStringCount.stringValue = String((value as NSString).length)
    utf16Count.stringValue = String(value.utf16.count)
    unicodeScalarCount.stringValue = String(value.unicodeScalars.count)
    byteCount.stringValue = String(value.data(using: .utf8)!.count)
}
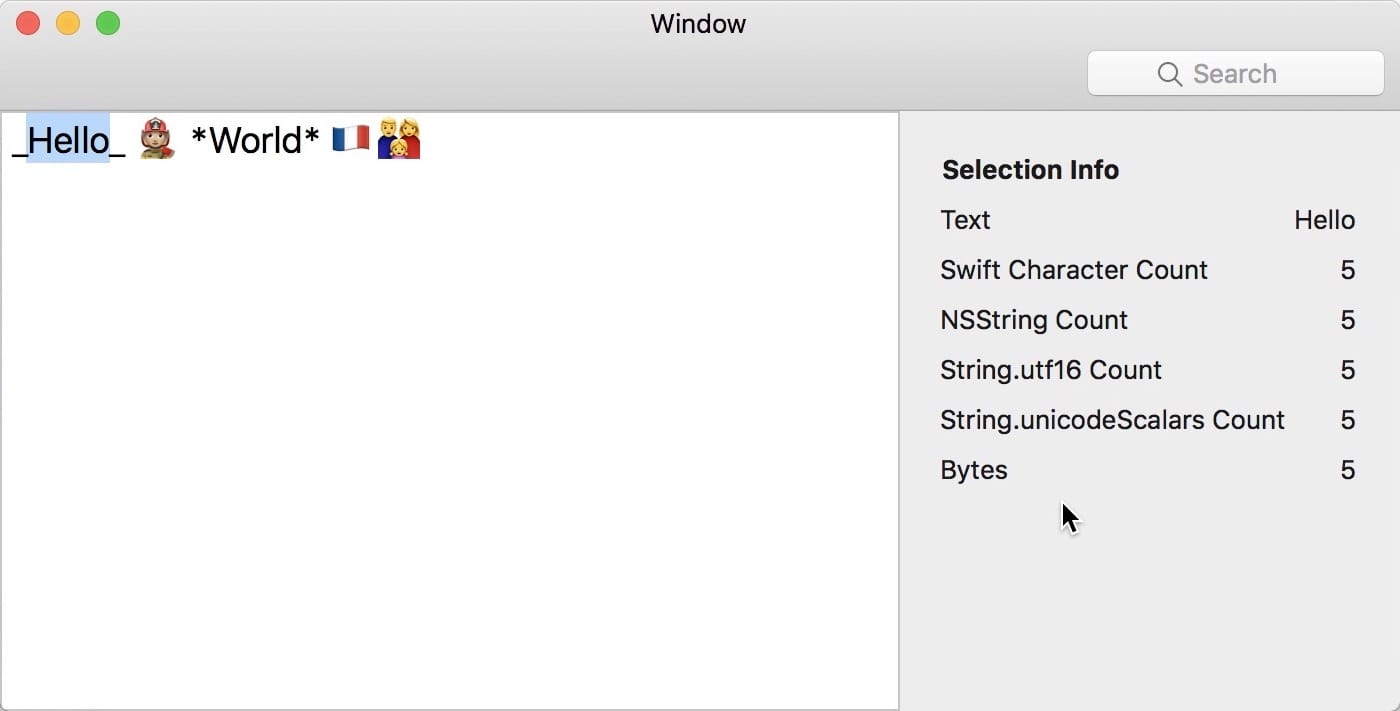
07:47 This results in some interesting information. If we select "Hello"
again, the info looks straightforward, in that both the Swift string and the
NSString are five characters long, and so too are the other views of the Swift
string:
08:20 If we select the 👩🏻🚒 emoji, things get more complicated. The
Swift string is one character long, as expected. The NSString says it has a
length of seven — this matches with the length of the Swift string's utf16
view, since NSStrings are backed by UTF-16:
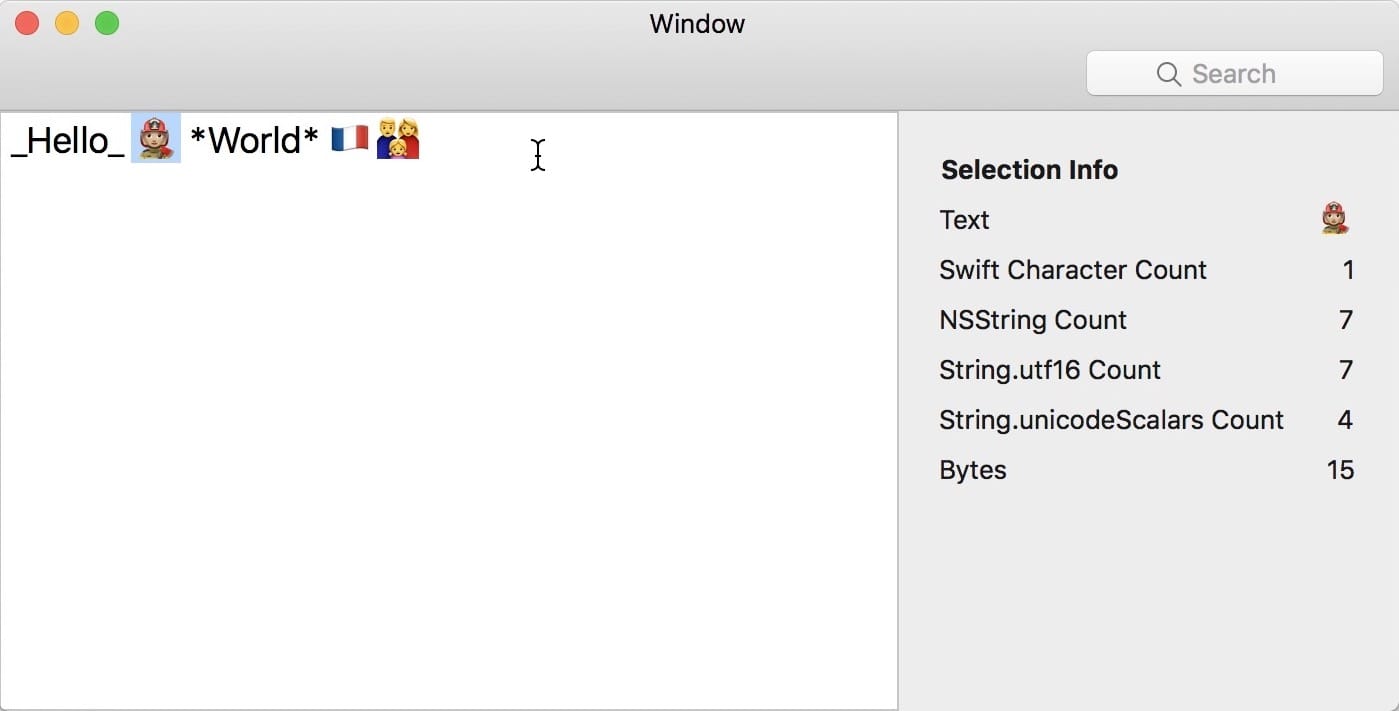
09:02 The Swift string's unicodeScalars view returns a count of four.
You can look up online what the elements of a Unicode character are. In this
case, the firefighter emoji character is composed of "woman," a skin tone
modifier, a zero-width joiner, and "fire engine" — four scalars in total.
10:35 The French flag emoji 🇫🇷 is listed as one Swift string character,
four NSString characters, and two Unicode scalars (special flag versions of "F"
and "R"). Looking at all these different counts, it makes sense that mixing up
ranges and indices doesn't work. You can get away with using Range and
NSRange interchangeably if you're only dealing with simple letter characters.
But as soon as you come across a more complex character, like an emoji, the
following indices will be different in the various string views.
11:35 Family characters are interesting as well. The emoji we used,
👨👩👧, is composed of three scalars for the individual people, plus
two zero-width joiners to combine them into one family: five scalars in total.
Conclusion
11:58 We have to be careful when operating on the raw data of a string,
because we might be changing the byte of a single family member and
inadvertently changing the entire family character. It's safer to operate on
whole characters than it is to operate on individual bytes or scalars. Luckily,
the two initializers we saw today, which convert from Range to NSRange and
back, make things a lot easier.
