
9 Episodes · 3h15min
- Detecting Taps 13:13
- Drawing Curves 23:39
- Moving Points 25:58
- More Gestures 26:30
- Generating Code 19:11
- Selection 25:16
- Keyboard Commands 22:50
- Grid Snapping 22:49
- App Lifecycle 16:22
Swift Talk # 244
Subscribers get exclusive access to new and all previous subscriber-only episodes, video downloads, and 30% discount for team members. Become a Subscriber →
We start building a Mac app to visually construct SwiftUI paths.
00:06 Today we'll start working on a new Mac app. When we write code that draws a path, it often takes some guessing to determine where to put the control points to get the shape we want. So we thought it would be handy to have an app that lets us create paths visually — by clicking to add points and dragging to edit the points — and that outputs the Swift code for our path. Apps like this already exist (e.g. PaintCode), but it's still a fun and interesting challenge to build one ourselves.
00:52 If anything, we'll learn more about handling simultaneous gestures. Ultimately, we want to be able to edit and move path points and to draw curves. This will involve various gestures — clicking, dragging, perhaps dragging while holding the option key, and double-clicking — and we don't want the logic that handles all these gestures to get out of hand.
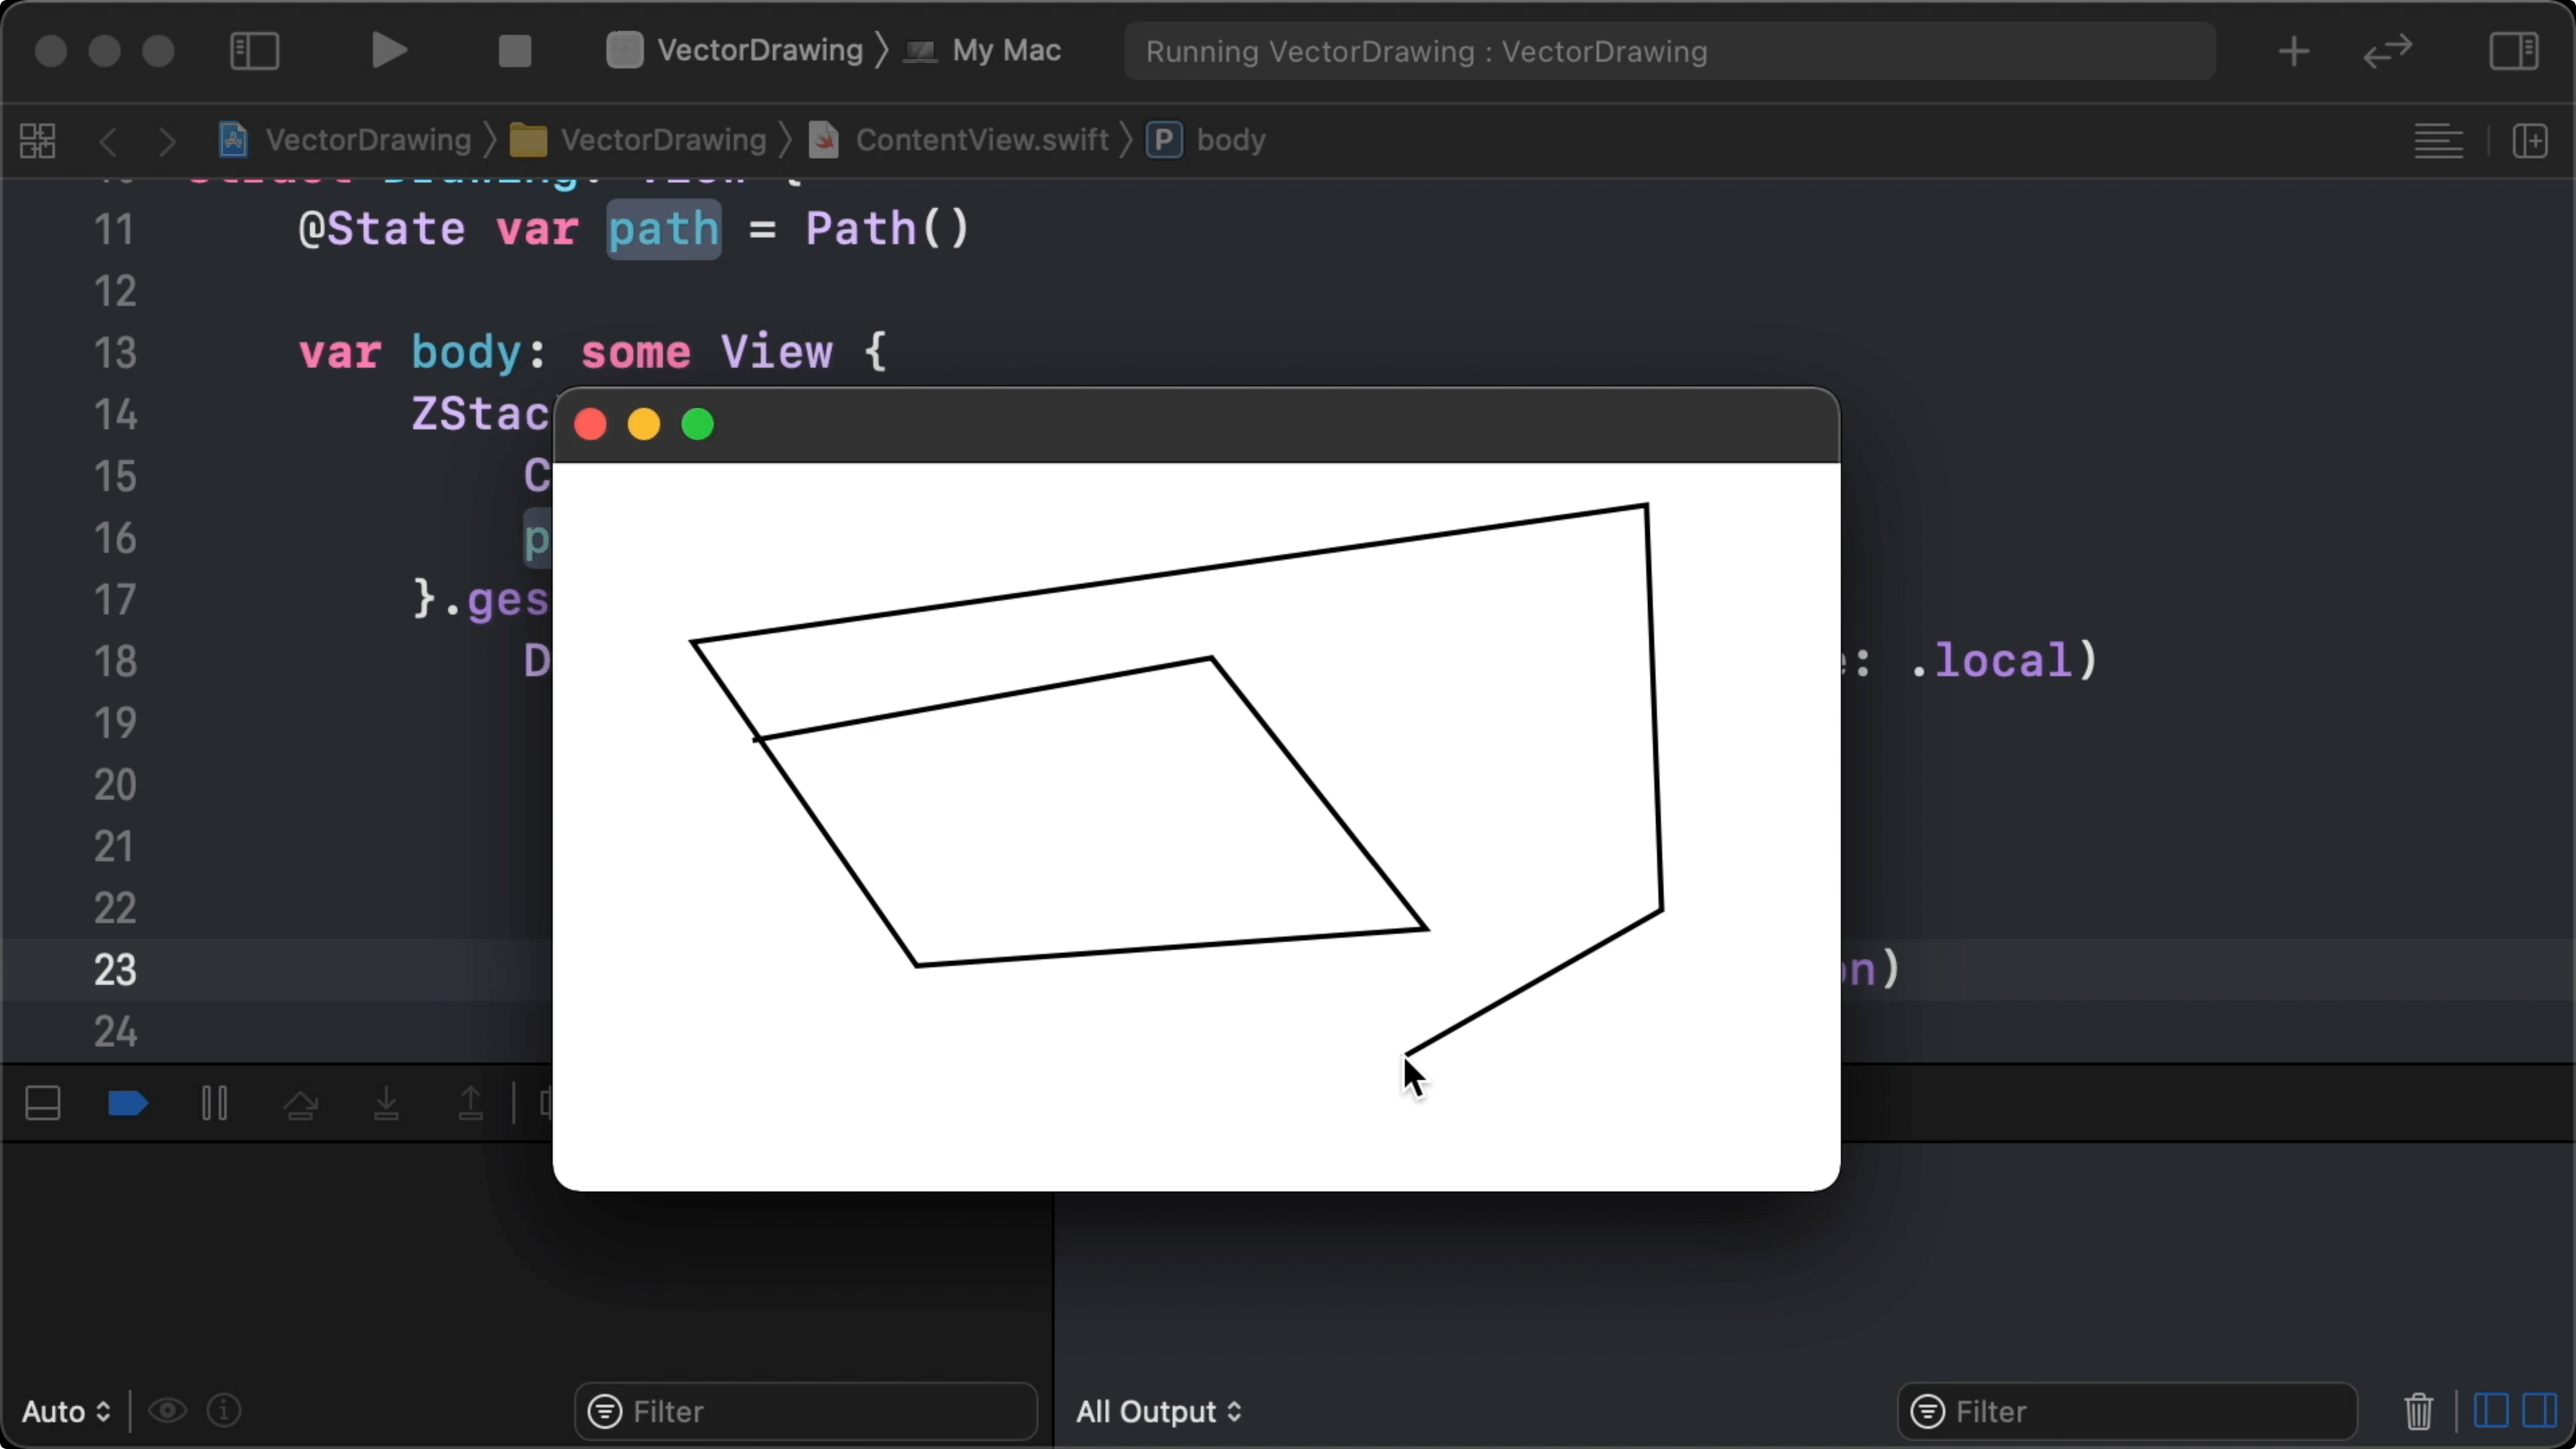
01:27 But let's start with the basics. Our first step is to draw lines by
clicking around. We create our canvas from a ZStack containing a white
background and a mutable Path:
struct Drawing: View {
    @State var path = Path()

    var body: some View {
        ZStack {
            Color.white
            path.stroke(Color.black, lineWidth: 2)
        }
    }
}
02:23 Our first instinct might be to use onTapGesture for detecting
clicks, but when we're called back about a tap gesture, it doesn't include the
location of gesture. Instead, we can use a drag gesture. It may feel a bit hacky
to use a drag gesture to detect clicks, but we'll be able to use this same
gesture for both clicking and dragging later on:
struct Drawing: View {
    @State var path = Path()

    var body: some View {
        ZStack {
            Color.white
            path.stroke(Color.black, lineWidth: 2)
        }
        .gesture(
            DragGesture(minimumDistance: 0, coordinateSpace: .local)
                .onEnded { state in
                    path.addLine(to: state.startLocation)
                }
        )
    }
}
03:33 If we now click somewhere, the app immediately logs a warning
about the fact that we're trying to add a line to a point before setting an
initial point. In the gesture's onEnded block, we need to check if the path is
empty to determine whether to move to the gesture's location or to add a line to
it:
struct Drawing: View {
    @State var path = Path()

    var body: some View {
        ZStack {
            Color.white
            path.stroke(Color.black, lineWidth: 2)
            Points(path: path)
        }
        .gesture(
            DragGesture(minimumDistance: 0, coordinateSpace: .local)
                .onEnded { state in
                    if path.isEmpty {
                        path.move(to: state.startLocation)
                    } else {
                        path.addLine(to: state.startLocation)
                    }
                }
        )
    }
}
04:00 Now lines are added to the path from the second click onward:
04:10 We specified the local coordinate space for the drag gesture. In this case, the view fills up the entire window, so the local coordinate space is equal to the global coordinate space. But if we add some padding to the canvas, we can see it's correct to use the local coordinate space, because the path's points still match up with where we click in the view:
struct ContentView: View {
    var body: some View {
        Drawing()
            .padding(50)
            .frame(maxWidth: .infinity, maxHeight: .infinity)
    }
}
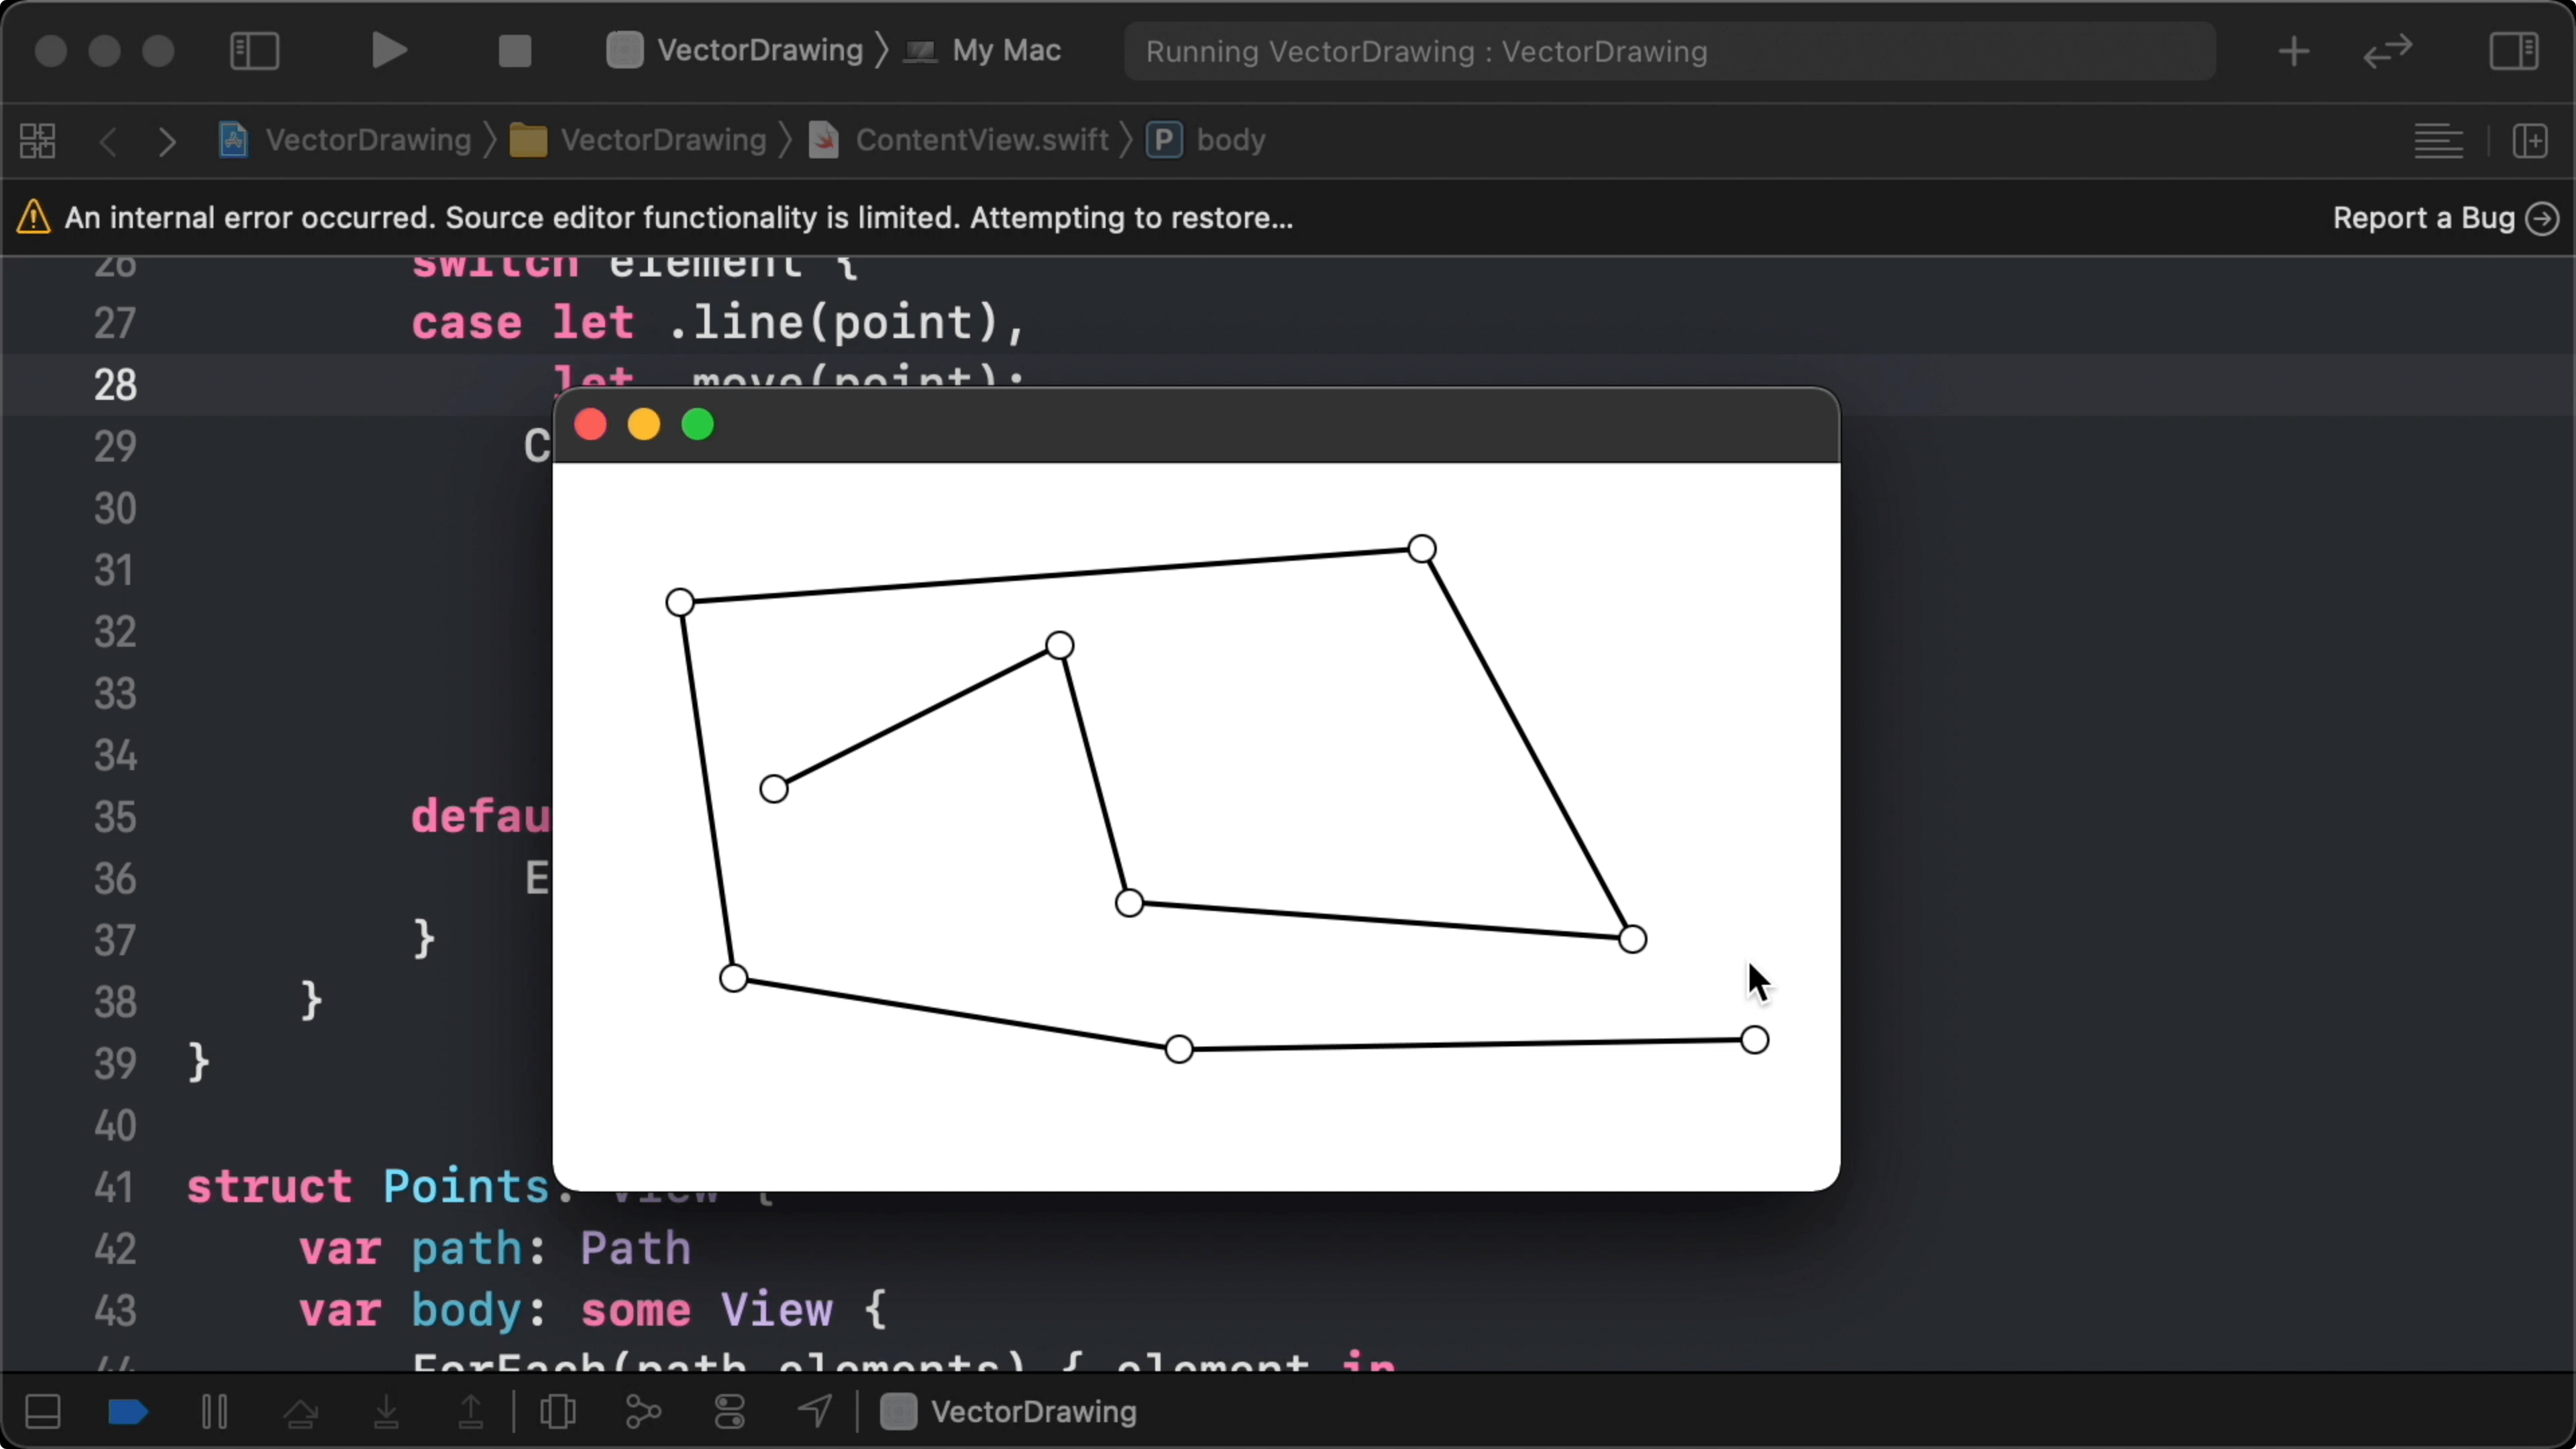
04:41 The next step is to draw indicators where the path's points are. We want to draw a small circle for each point. Later on, we'll use these circles as handles to edit the points.
04:59 We add an additional view to the ZStack to display the points of
the path:
struct Drawing: View {
    @State var path = Path()

    var body: some View {
        ZStack {
            Color.white
            path.stroke(Color.black, lineWidth: 2)
            Points(path: path)
        }
        .gesture(
            // ...
        )
    }
}
05:29 The Points view needs a way to get the elements from a path. In
the definition of Path, we can see that its Element type is an enum with
cases such as .move, .line, and .quadCurve. Path also has a forEach
method that can be used to loop over the path's elements. We can use this method
to collect the elements in an array:
extension Path {
    var elements: [Element] {
        var result: [Element] = []
        forEach { result.append($0) }
        return result
    }
}
06:48 There's probably a good reason Path doesn't expose an array of
elements like this out of the box. And perhaps it would be better to write our
own data structure to store a path, but we just want to get our project going
without adding too much infrastructure.
07:05 To use an array of path elements in a ForEach view, the
Path.Element type needs to be Identifiable. We take another temporary
shortcut by using string interpolation to implement id:
extension Path.Element: Identifiable { // hack
    public var id: String { "\(self)" }
}
07:48 Besides the fact that we're using the element's description as its identifier, it's also bad practice to conform types we don't own to protocols we don't own, so we'll have to change this later on.
08:07 But at least we can loop over the path elements in a ForEach
now. Inside the loop, we want to switch over the element, but writing a switch
statement inside a ForEach can add too much complexity for Xcode. So we write
a separate view to display a single element:
struct Points: View {
    var path: Path
    var body: some View {
        ForEach(path.elements) { element in
            PathPoint(element: element)
        }
    }
}
08:58 Inside PathPoint, we switch over the element and match on the
.line case to draw a black circle with a white fill. In all other cases, we
return an EmptyView. To prepare for a gesture we'll likely add to the circle,
we give its frame some padding to make it easier to hit:
struct PathPoint: View {
    var element: Path.Element

    var body: some View {
        switch element {
        case let .line(point):
            Circle()
                .stroke(Color.black)
                .background(Circle().fill(Color.white))
                .padding(2)
                .frame(width: 14, height: 14)
                .offset(x: point.x, y: point.y)
        default:
            EmptyView()
        }
    }
}
11:19 When we click in the top-left corner of the view, a circle appears near the center, which is a hint that our alignment is off. By specifying a top-leading alignment, the points' offsets correspond to the gesture locations:
struct Drawing: View {
    @State var path = Path()

    var body: some View {
        ZStack(alignment: .topLeading) {
            Color.white
            path.stroke(Color.black, lineWidth: 2)
            Points(path: path)
        }
        .gesture(
            // ...
        )
    }
}
11:54 Now we only need to adjust the circle's offset with half its size to center the circle on the point:
struct PathPoint: View {
    var element: Path.Element

    var body: some View {
        switch element {
        case let .line(point):
            Circle()
                .stroke(Color.black)
                .background(Circle().fill(Color.white))
                .padding(2)
                .frame(width: 14, height: 14)
                .offset(x: point.x-7, y: point.y-7)
        default:
            EmptyView()
        }
    }
}
12:18 The only thing missing is the circle for the path's first point,
which is defined by the move(to:) call. To also draw this circle, we extend
the pattern matching of the elements we're drawing to include the points of
.move cases:
struct PathPoint: View {
    var element: Path.Element

    var body: some View {
        switch element {
        case let .line(point),
             let .move(point):
            Circle()
                .stroke(Color.black)
                .background(Circle().fill(Color.white))
                .padding(2)
                .frame(width: 14, height: 14)
                .offset(x: point.x-7, y: point.y-7)
        default:
            EmptyView()
        }
    }
}
12:47 That concludes our basic setup. Next, we want to add the ability to move points. And we also want to be able to create a curve instead of a straight line by holding and dragging. Let's look at these things in the next episode.
Written in Swift 5.3
Become a subscriber to download episode videos.
9 Episodes · 3h15min
Episode 492 · May 15
Episode 491 · May 07
Episode 490 · May 01
Episode 489 · Apr 24
Episode 488 · Apr 17
Episode 487 · Apr 10
Episode 486 · Apr 03
Episode 485 · Mar 27
Unlock Full Access
A new episode every week
Take Swift Talk with you when you're offline
With your help we can keep producing new episodes